Make an “Under the Sea” arrangement with succulents!
Succulents come in so many unusual shapes and textures and many resemble plants from the ocean. Learn how to make a stunning “under the sea” arrangement!
Succulents and Sunshine is reader supported. We may earn a commission, if you purchase through links on our site, such as Mountain Crest Gardens, Amazon, or Etsy. We only promote products we use and trust.
There are so many great ideas for designing with succulents, but one type of arrangement that always catches my eye is an under the sea style.
Succulents are really unusual plants in that they have such a wide variety of textures and shapes.
Once you start thinking about it, you'll be amazed at how many resemble coral and other plants you might see in the ocean. A little ironic that they don't need as much water, right?
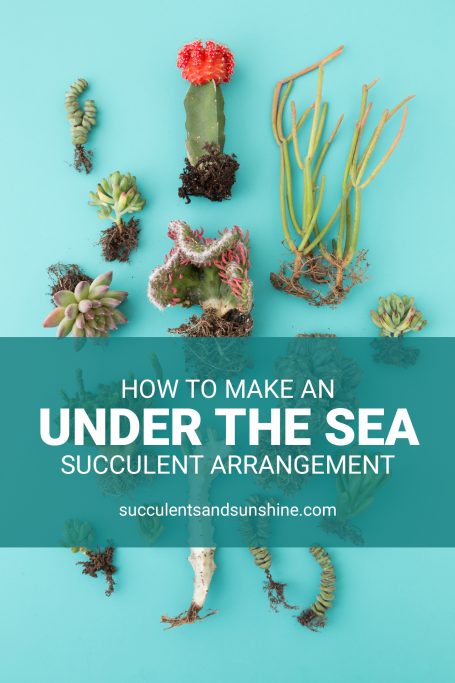
I talked to the lovely people at The Succulent Source and asked if they'd send me some plants they thought would work well for an under the sea arrangement.
I had a few suggestions, but I love the plants they surprised me with even more! The crested cacti and Euphorbias were amazing!
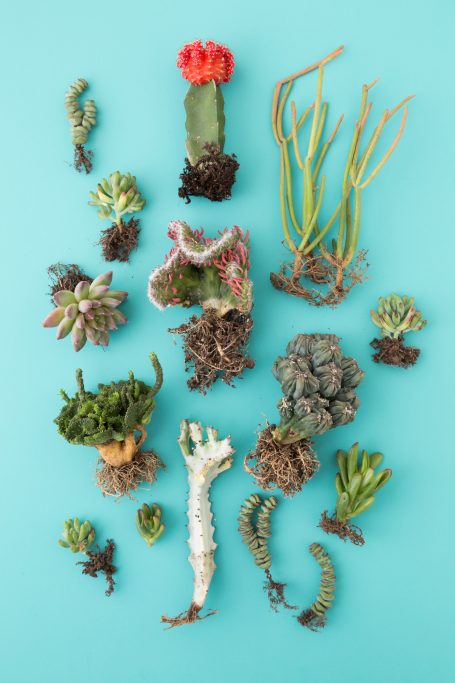
Here's a list of what I have above:
- Crassula ‘Baby's Necklace'
- Gymnocalycium mihanovichii ‘Hibotan'
- Euphorbia tirucalli ‘Firesticks'
- Sedum pachyphyllum
- Pachyveria glauca ‘Little Jewel'
- Opuntia Hybrid Crest ‘Roller Coaster'
- Euphorbia flanaganii cristata
- Cereus forbesii monstrose
- Crassula argentea ‘Gollum'
- Euphorbia lactea variegata ‘Bones'
I found an awesome pot from Unurth that looked like the ocean to me. I decided to fill it with these under the sea plants. The pot wasn't big enough to use them all, but I was able to fit in some of my favorites.
If you end up working with any Euphorbias, remember the white sap is poisonous and can irritate your skin. I finished off the arrangement with the Gold Tan Top Dressing from Bonsai Jack. The color reminded me of sand on the ocean floor but it had more texture.
Overall I'm really happy with how it turned out!
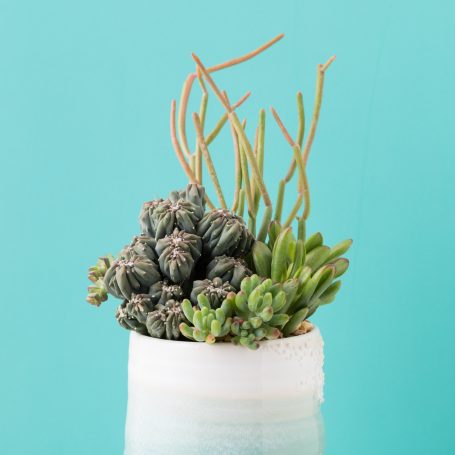
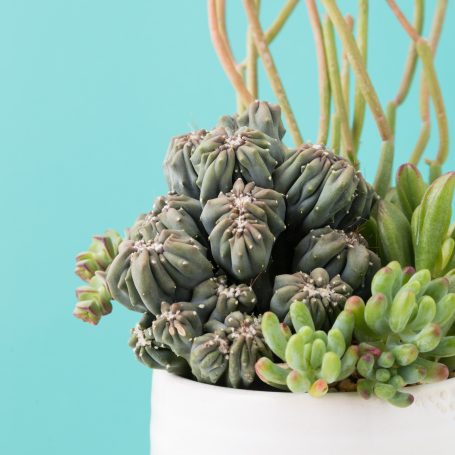
As a little side note… when you're working with a pot that has an obvious front, like this one I used (the “bubbles” you see on the side should really be in the front), make sure you remember to look at that when you're placing the plants!
I realized after I had finished the arrangement that the front of my design did not align with the front of the pot. It's not the end of the world… the “bubbles” still look awesome on the side, but I wish I would have paid more attention.
When you are deciding how to select and arrange succulents for your under the sea masterpiece, I'd recommend looking at my post with tips for designing with succulents. There's a lot of great ideas there to help you pick the right plants to combine to make a statement and really show off how amazing these plants are.
You can also watch this video to see some of the tips in action:
Something I want to do with my next under the sea creation is add in some sea shells or even little fish! You may have noticed I didn't use all of the plants I got, so I'm definitely planning another arrangement.
I put together a wish list of some items I'm considering for my next work of art. Check it out by clicking here.
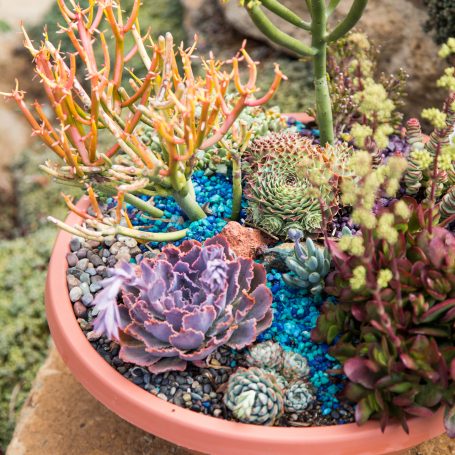
Also, keep an eye out for arrangements you see that have that “under the sea” look to them. While I was at Waterwise Botanicals, I noticed that several of the arrangements they had for sale definitely looked like something you'd see while snorkeling or scuba diving. That blue rock really makes the design pop!
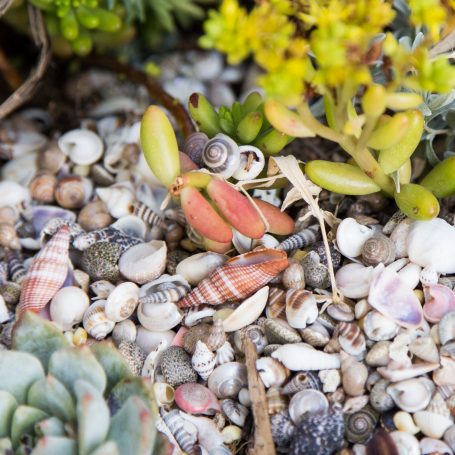
Also, on my tour of Jeanne Meadow's garden a few years ago I noticed she used sea shells as the top dressing for one area of her garden. Some of the plants in that area definitely looked like they belong in a coral reef.
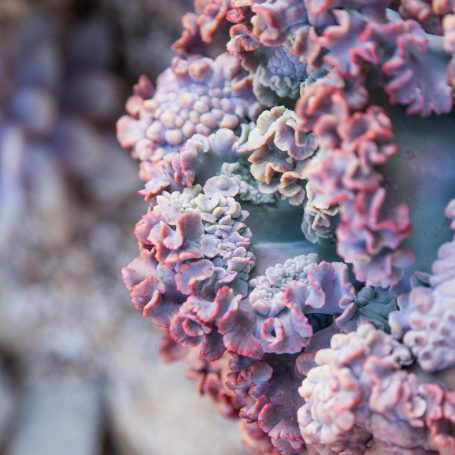
So, the next time you're browsing Pinterest, or at a succulent garden or nursery, keep your eye out for an under the sea arrangement or plants that would work for one.