Unexpected Beauty: Transform Your Bird Bath with Stunning Succulents
Learn how to ensure the succulents you plant in a bird bath will survive! Plus get other tips for how to create a fun design with your succulents.
Last year I had a lot of fun filling my parents empty bird bath with succulents. It was really beautiful and we loved having succulents there instead of just the empty bird bath with sometimes dirty water in it.
Succulents are great for planting in birdbaths!
However, I made a few mistakes when planting it and most of the succulents burned up and died. Fortunately, I'm great at learning from my mistakes 🙂
I decided to plant more succulents in the bird bath and this time, made sure to set myself up for success.
The biggest problem with the original planting is actually the time of year I planted it. It was planted in July which is one of the hottest months of the year here in Utah.
While these Sempervivums and Sedums can tolerate quite a bit of heat, they weren't acclimated to it before planting: they had been in partial sun and never got sun in the hot afternoon.
The bird bath is in full sun almost all day long, including the afternoon when the temperature hits it's peak. Since the bird bath is metal, it heats up quite a bit during the day, making things even hotter for the succulents.
Another problem was lack of consistent watering. The bird bath does not have any way to get water other than rain or being watered by hand. We forgot about it and didn't water it more than once a week. In the summer, in this particular situation, that was not nearly enough.
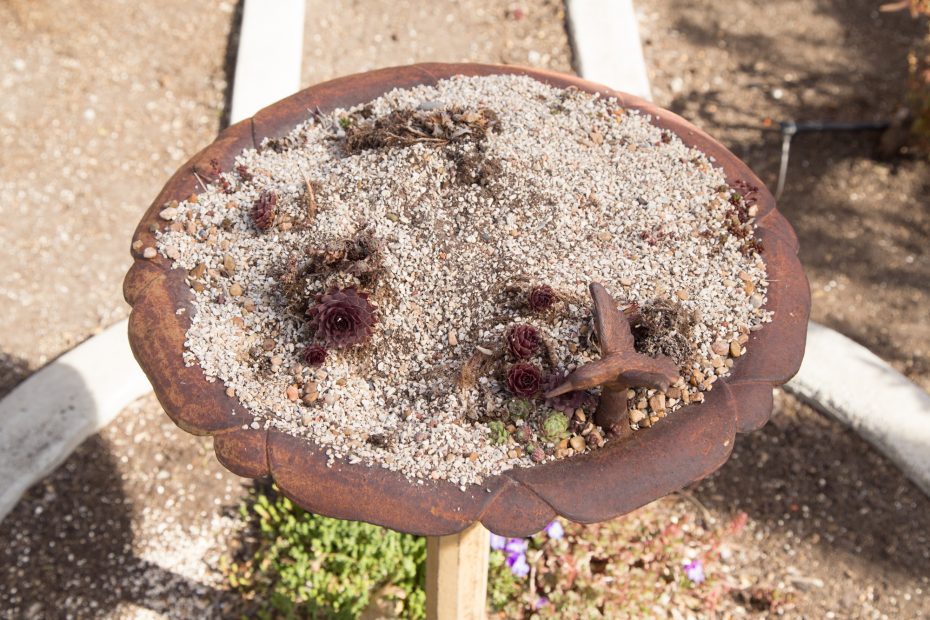
Within a couple weeks, most of the succulents had completely died from overheating and lack of water. I used my super well draining soil (which is fabulous for succulents 95% of the time) but because of the heat, it only stayed wet for a few hours and the succulents hardly had time to soak up the water before it dried out.
As you know, in order for succulents to develop strong roots they need the soil to be soaked but then dry out within the next few days.
I knew that if I replanted in the spring before the weather warmed up it would make a huge difference for acclimating the succulents to their new home. They wouldn't get as hot during the day, even with the full sun, and would have a better chance of putting out strong roots.
How I replanted the bird bath
Since most of the succulents had died, I removed them, but left any that were still alive. And I had a cute little helper while I did that 🙂 He's pretty fascinated with plants, but mostly loves dirt, so the next step was his favorite.
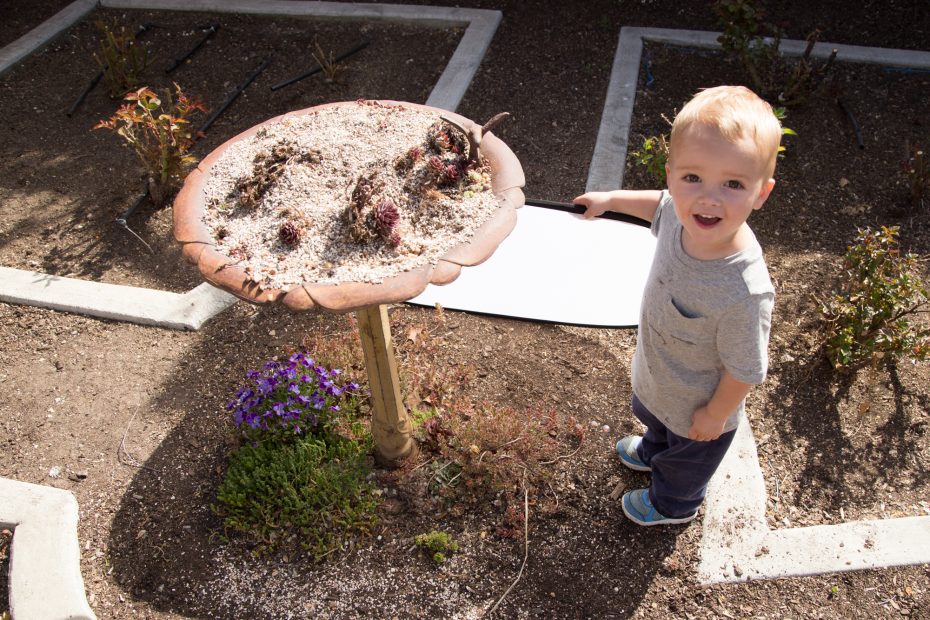
Once I had the dead plants removed, I took out most of the soil.
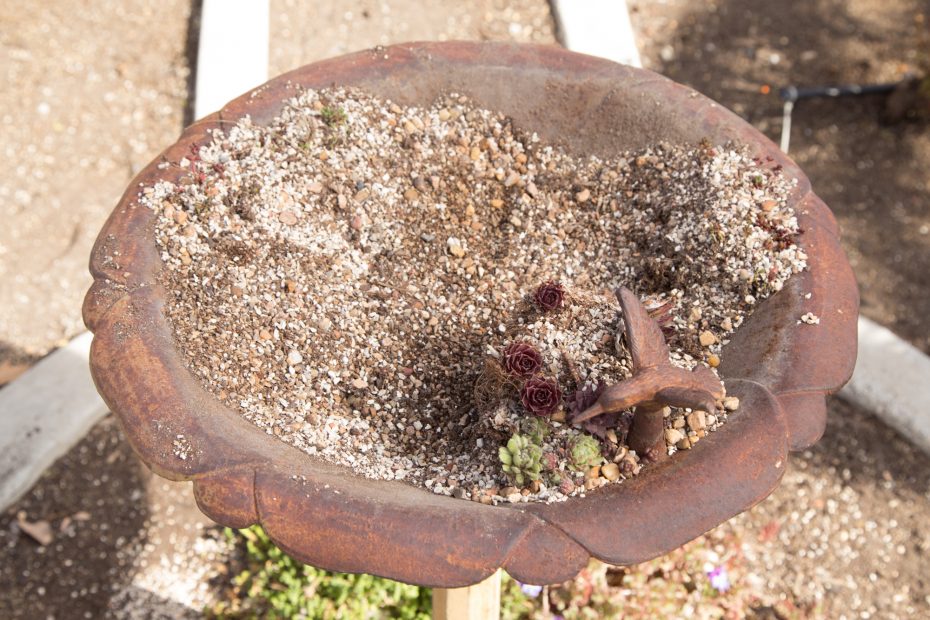
Then, I added in soil that held water a little bit longer. I knew that the succulents would be ok in this particular soil because I have them in the same soil in the ground in other areas of the yard. So far the succulents in the bird bath are doing much better!
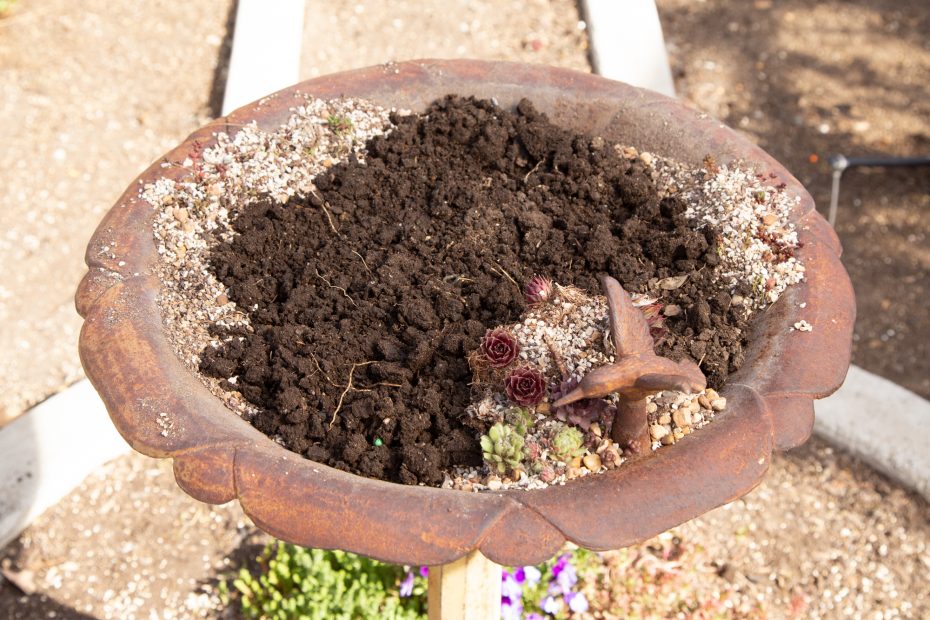
After I filled the bird bath most of the way with slower draining soil, I added the well draining soil to the top. This will keep the top of the soil dry to prevent rot at the base of the rosettes.
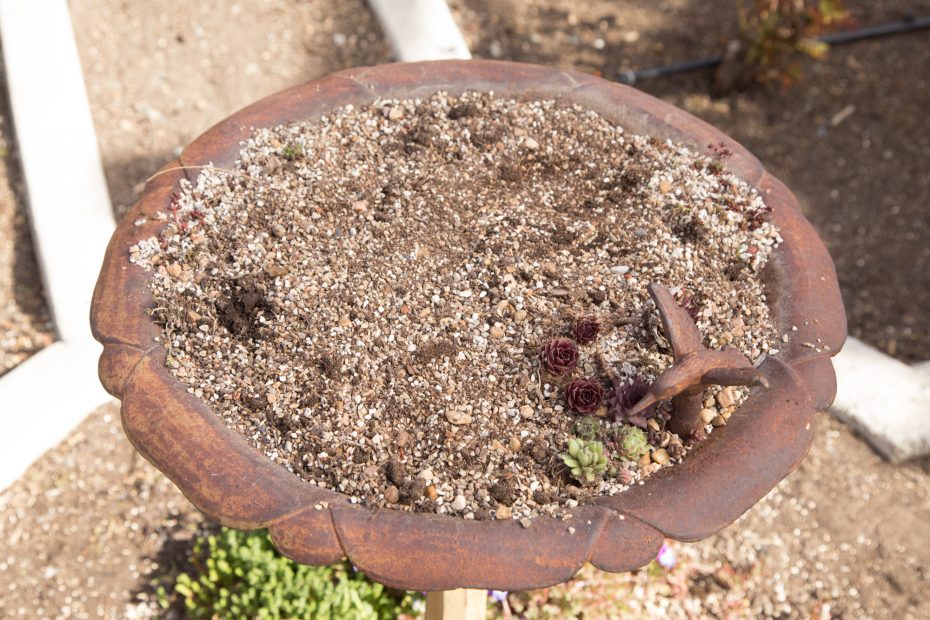
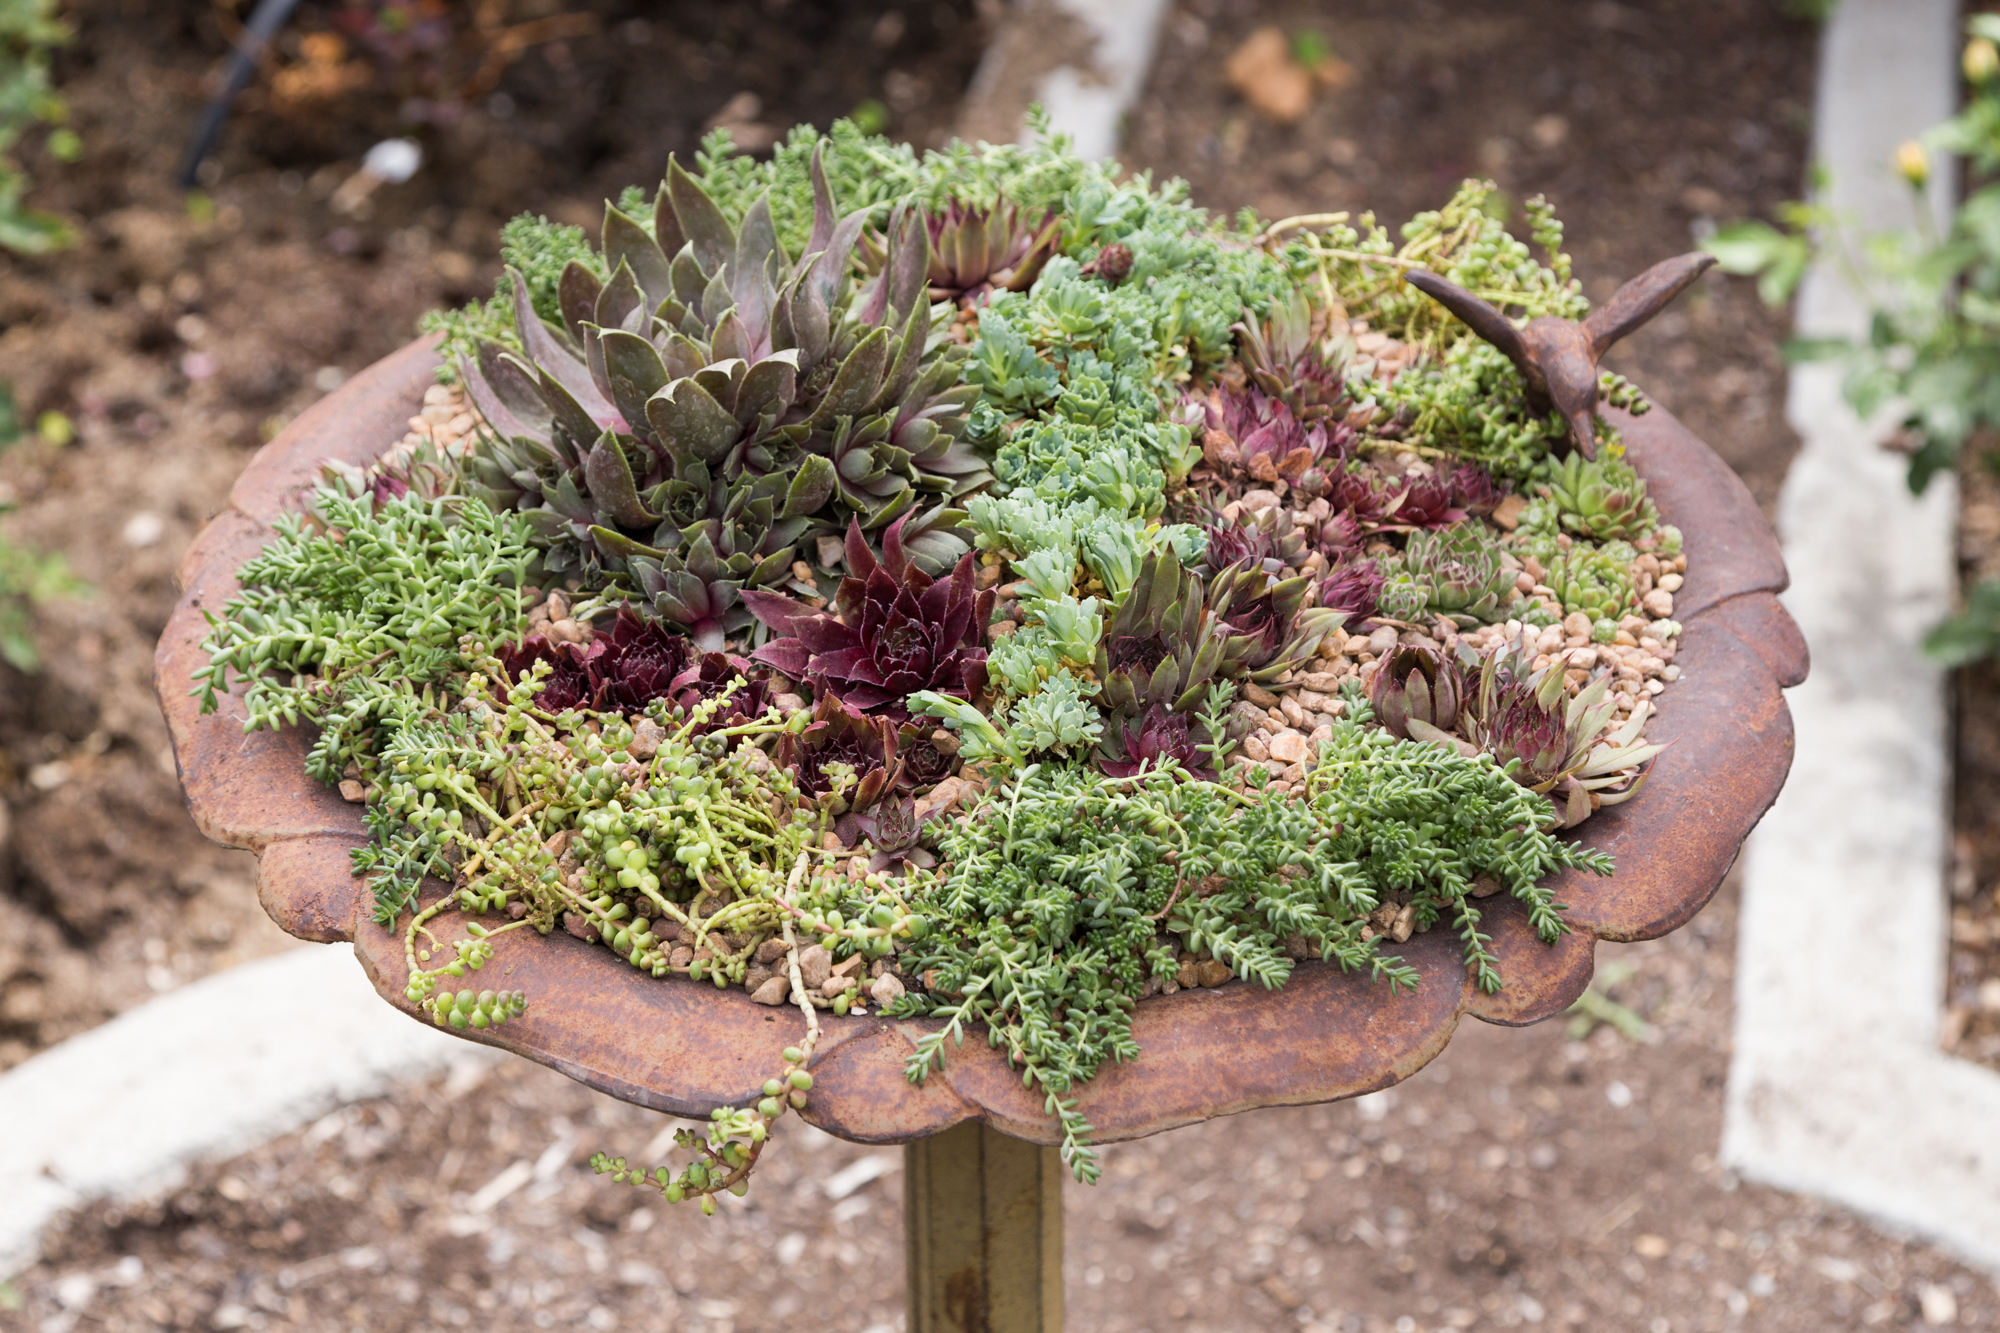
I then added in a “river” of rocks and more succulents (still cold hardy Sempervivums and Sedums) along with a top dressing, just like in the original. I love the way the rocks look in the arrangement. It adds a lot of character and makes the design much more interesting.
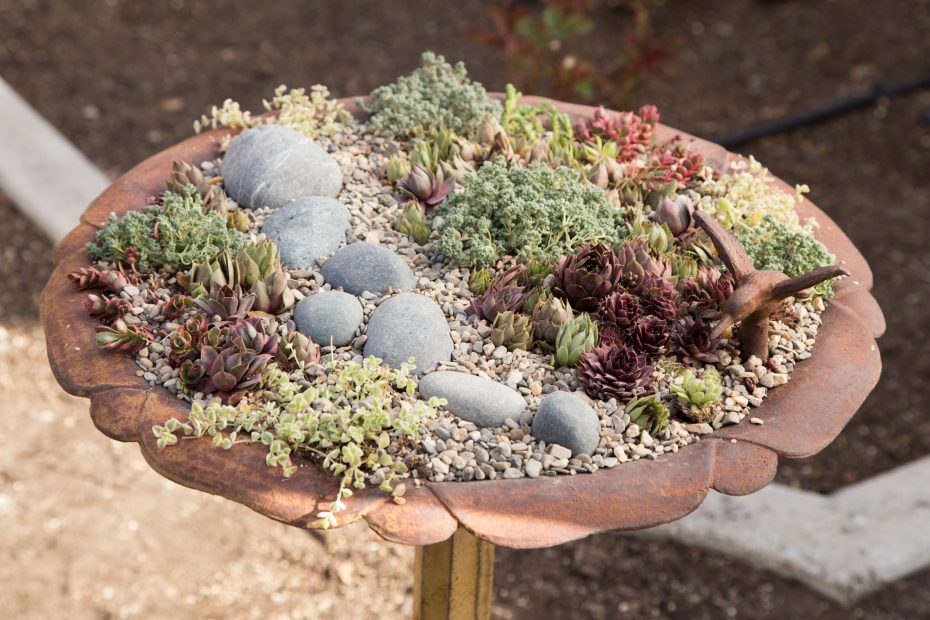
It's been almost two months now and the succulents are doing really well.
They don't seem to be bothered by the full sun and heat and they are growing!
Key takeaways to make sure your bird bath grows beautifully
- Plant in the spring when the weather is cooler so the succulents have time to adjust before getting full sun in the heat of summer.
- Use a soil that doesn't drain as quickly to help keep the succulent cool in the metal bird bath (only if it's in full sun most of the day, otherwise use a well draining soil)
- Water thoroughly and make sure to water it somewhat frequently to prevent sunburn.
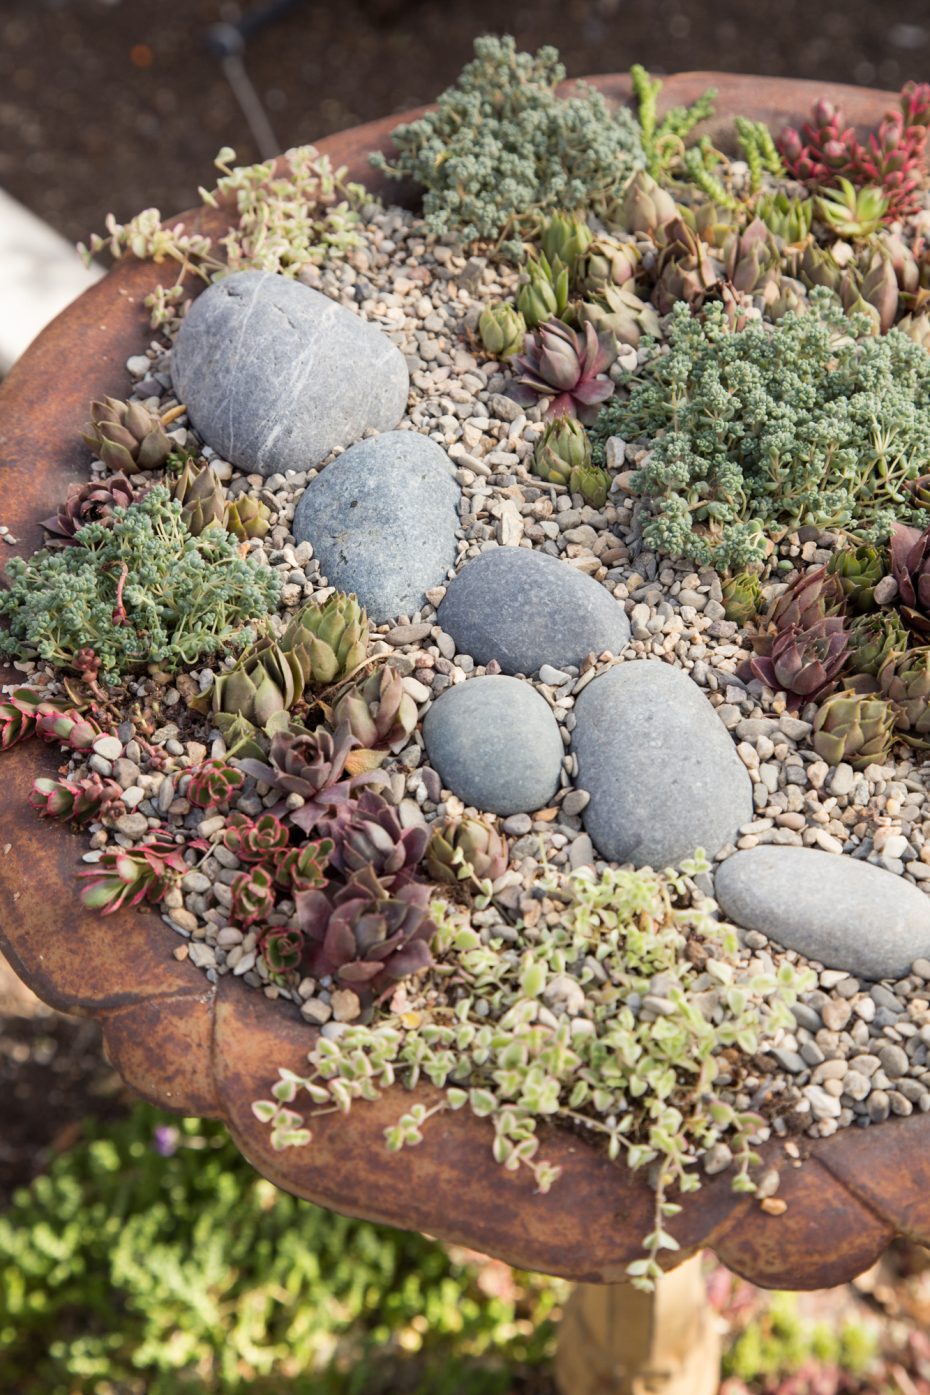
Now, keep in mind that not all bird baths will have this problem, especially if they are in the shade or have a deeper planting area. However, I hope this helps you get an idea of some difficulties you may run into when planting in such a shallow container.
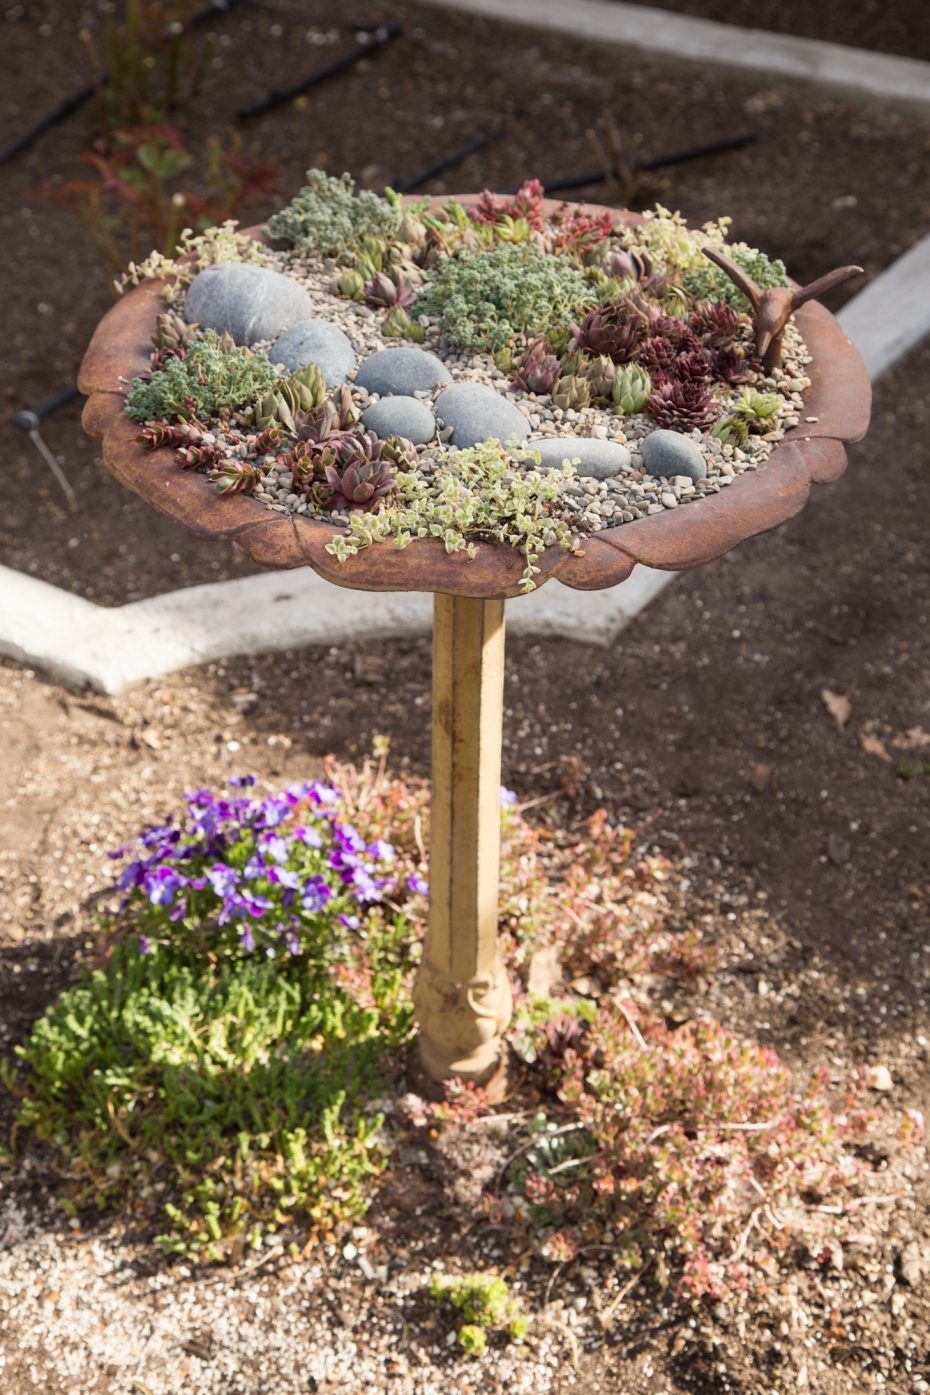
As a little side note… two years ago I planted succulents around the base of the bird bath too. These have done amazingly well. We also had a little “Johnny Jump Up” that made it's way into the mix somehow and now it's flourishing too!
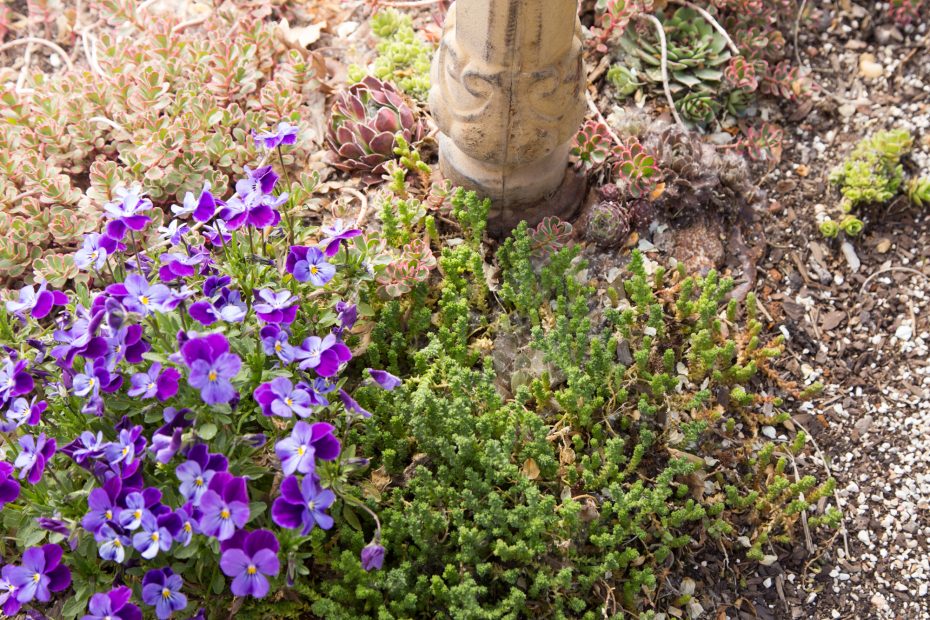
Now that things are setup a little better, the bird bath really makes a statement in the garden and should be set to grow for years to come!
This article originally appeared on Succulents and Sunshine.