Don’t Get Poked! Pain-free tips for Propagating Cactus
Cactus are starting to gain popularity, and it's no wonder! They are very waterwise and some can be easily rooted from just a single pad. Of course, having beautiful rose-like flowers is also an added perk of growing these prickly paddle cactus.
While at a Waterwise Botanicals event, I was fortunate enough to get “cuttings” from several cactus in the new Opuntia collection Waterwise released. Tom Jesch, the manager at Waterwise, was really excited to share these with me and I'm excited to now share them with you!
You can get your own Opuntia pads from Mountain Crest Gardens. If you place an order from Mountain Crest for these Opuntias, you'll receive a single pad. These root very easily, but I'll walk you through the process so you're sure to succeed.
You can do it! Plus, if you've done any other type of succulent propagation you'll have a great head start.
So let's start with what you'll need:
- Opuntia cactus pads
- A pot
- Succulent soil
- Silicone tipped tongs
- Nitrile Dipped Gloves
- Optional: sharp knife
Also, if you haven't worked much with cactus before, or if you need a little refresher on how to keep your hands safe from spines… check out my post about how to safely handle cactus. Otherwise, your hands might look like these tongs:
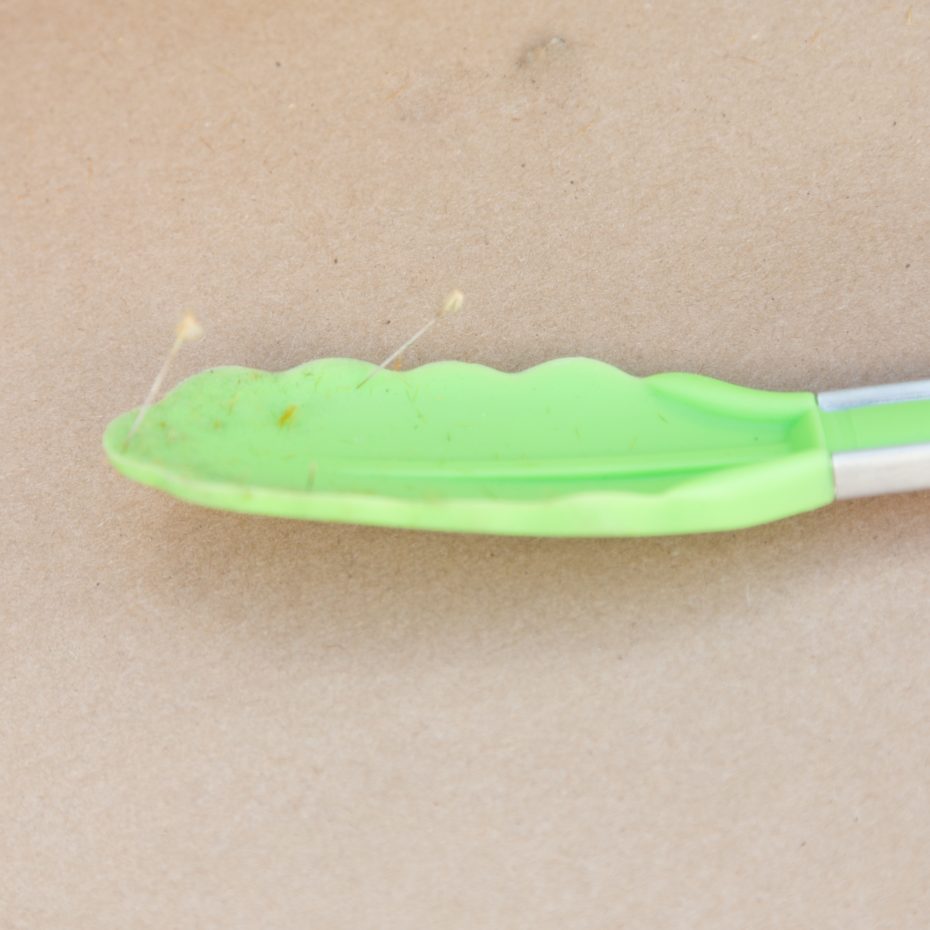
I promise that is not a fun feeling. The big spines hurt but those little “fuzzy” looking ones are miserable to get out of fingers! So make sure you're handling them safely.
Removing Opuntia Pads
Let's start by talking about how to remove a cactus pad from the main plant. For those of you fortunate enough to live in an area with lots of Opuntias, you'll likely have some neighbors who will be more than happy to share a pad with you.
Maybe you have your own and just want to plant them more places. That's great too!
Start by putting on gloves and getting your tongs ready. Simply grab a cactus pad with your tongs and break it off of the main plant. For most Opuntias this will be easy to do and you'll get a clean break.
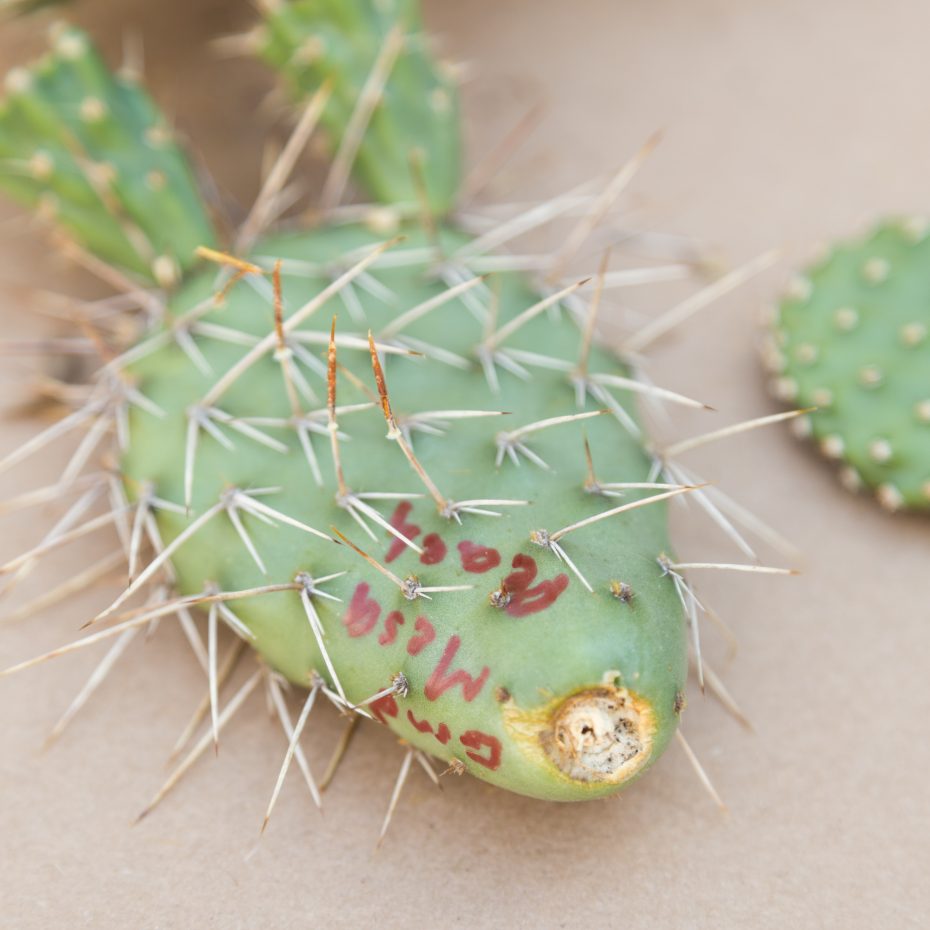
If you find it difficult to remove the pad by just pulling it of, use a sterile sharp knife and cut one of the pads off. It's important your knife is clean so the cut doesn't become infected. You'll want to let this cut dry out completely and heal before placing it on soil.
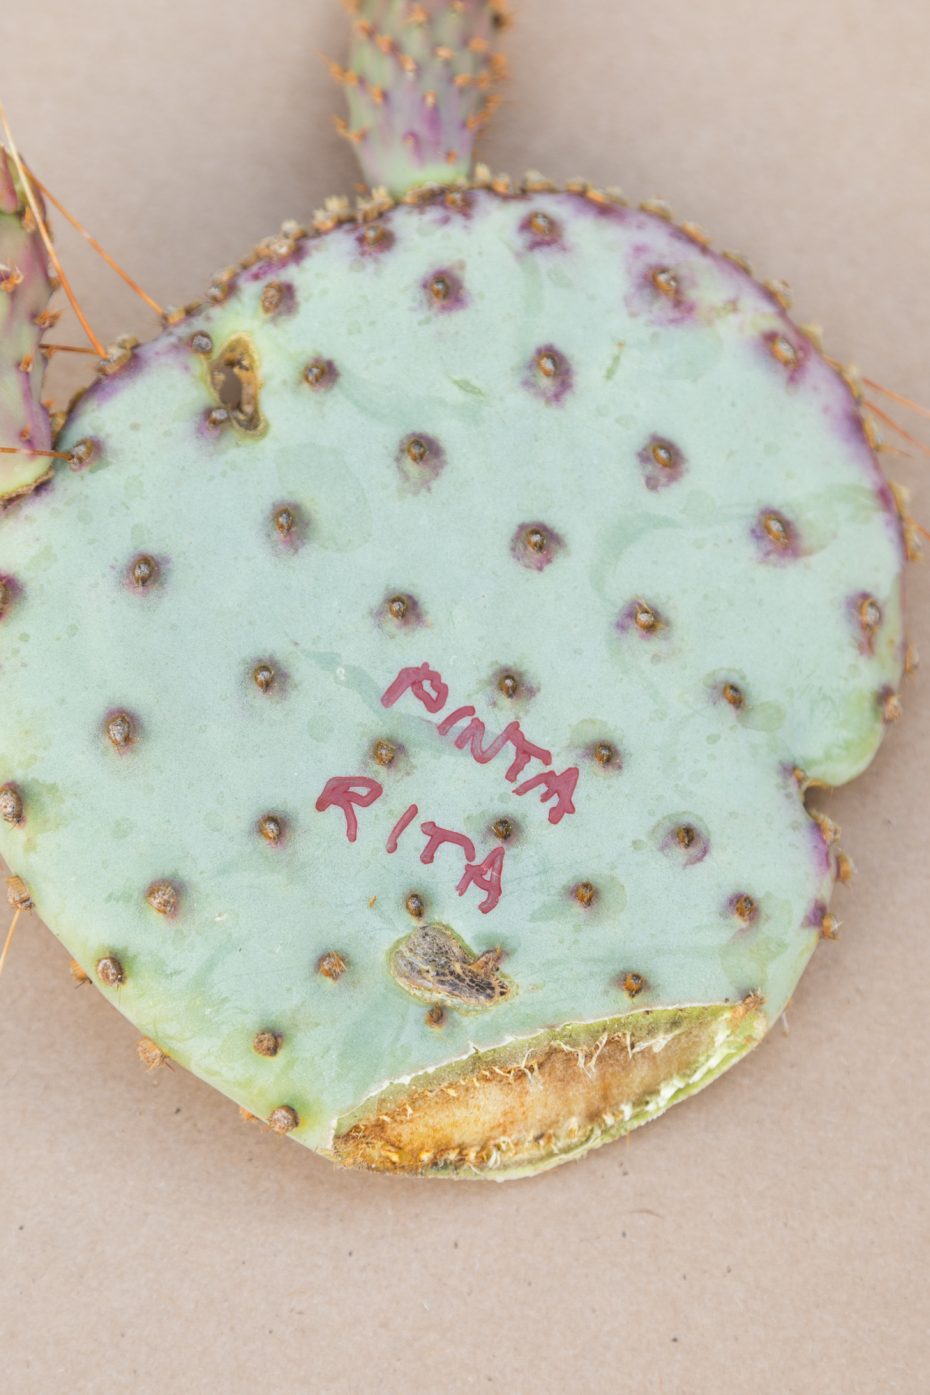
Label the Pads
If you're getting a lot of cuttings like I did, it's a good idea to label them somehow so you know which plants are going where. Then you don't just have a mystery plant in your garden down the road.
The sharpie used to write on these will wear off eventually, but I've photographed them with the names so I'll be able to identify them later.
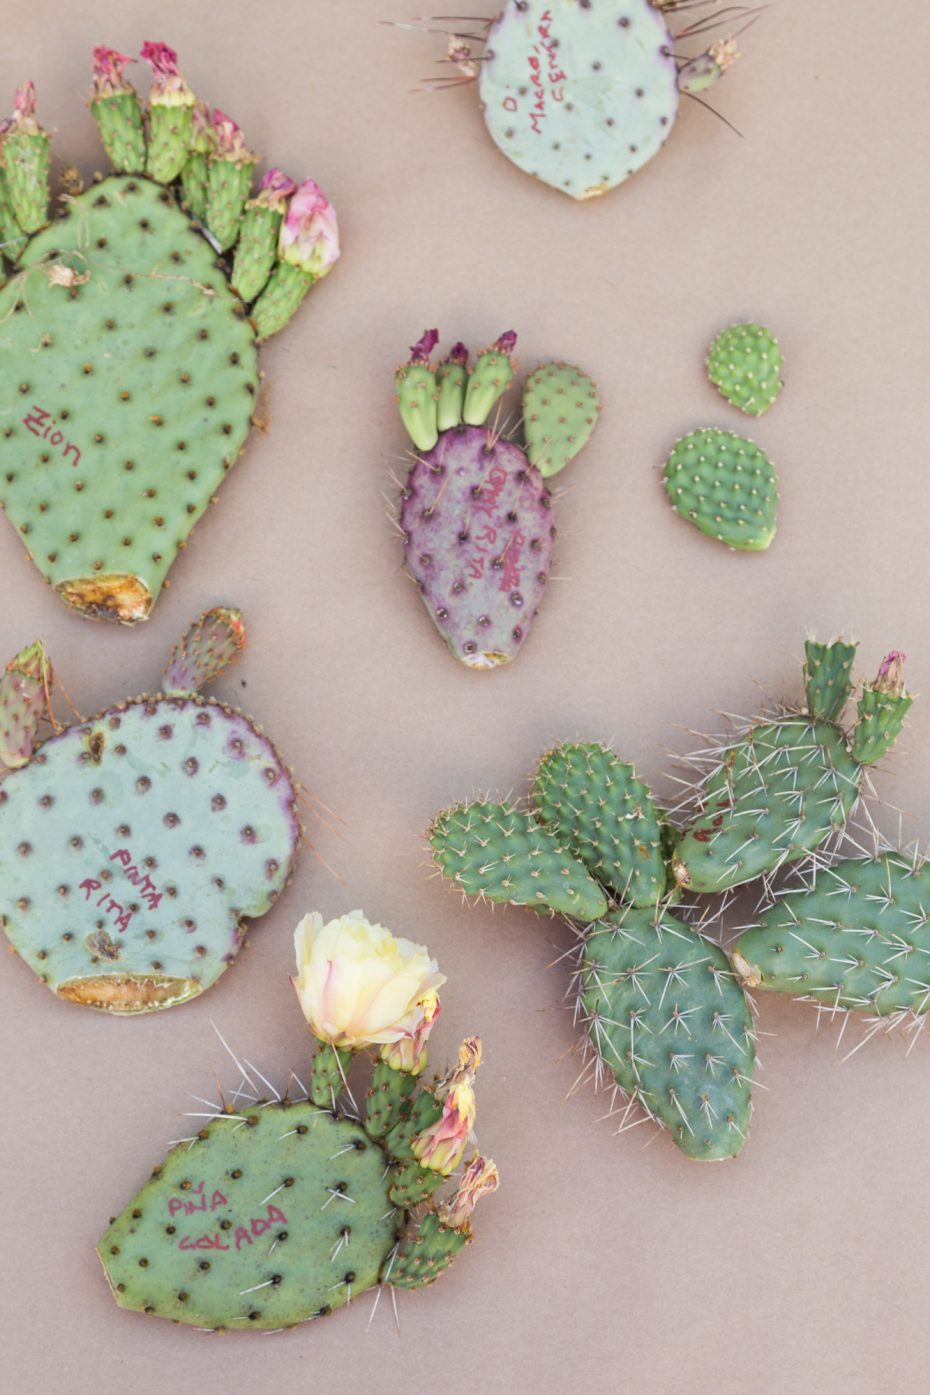
Once the pads are removed and the end has calloused over, it's time to plant them!
Fill Pots with Soil
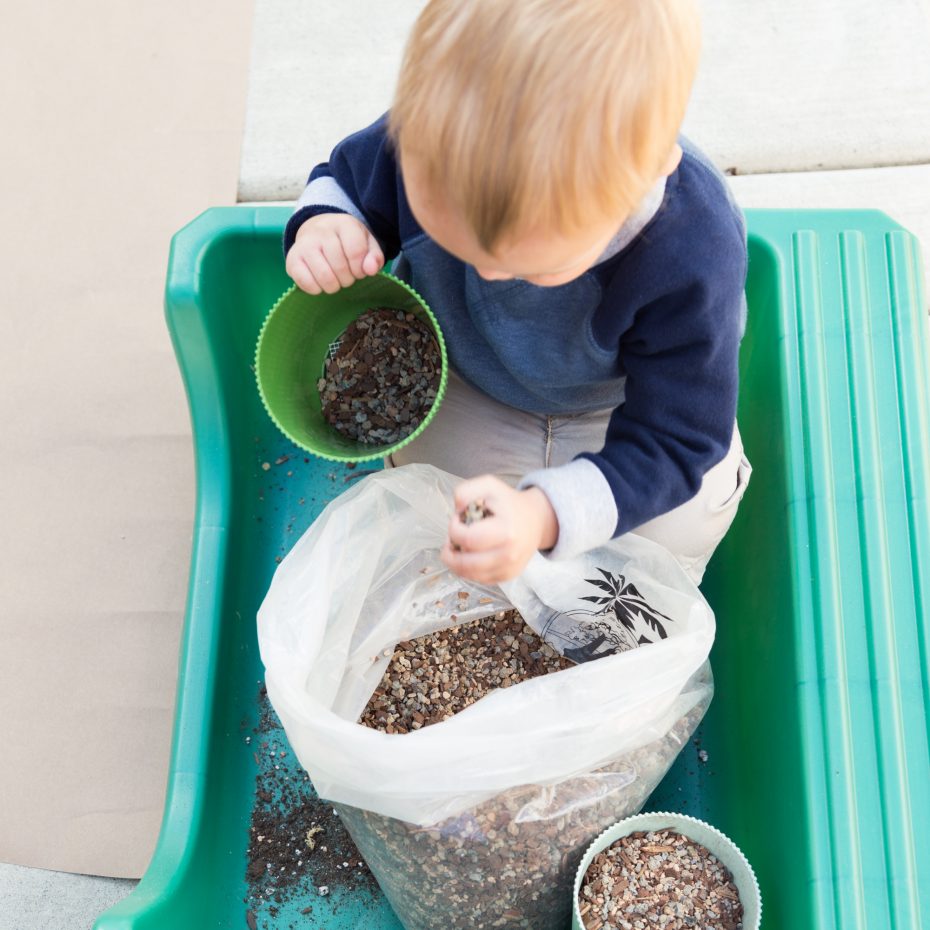
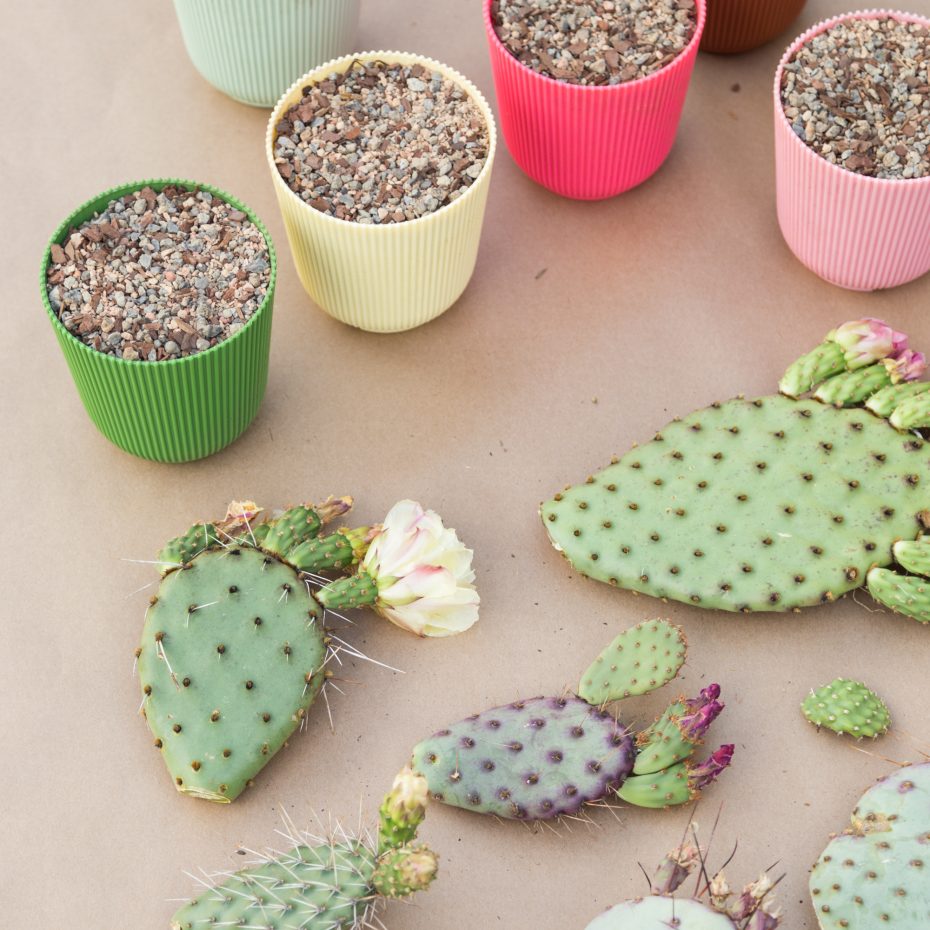
Start by filling up several pots with succulent soil. It's best if your pots are larger than the cactus pads since they will get bigger. By the way… if you have kids who like to “help” with gardening, filling up pots with soil is a great activity for them!
Place pads on top of soil
Once your pots are ready to go, lay the cactus pads on top of the soil. Just lay them flat, right on top of the soil. It's really that easy!
Now, I will pass on some great advice I got from Tom Jesh: don't stand the pads upright on the soil (like you see in my pictures….), lay them flat. If you lay the pads flat, they can't fall over or fall off the pots very easily.
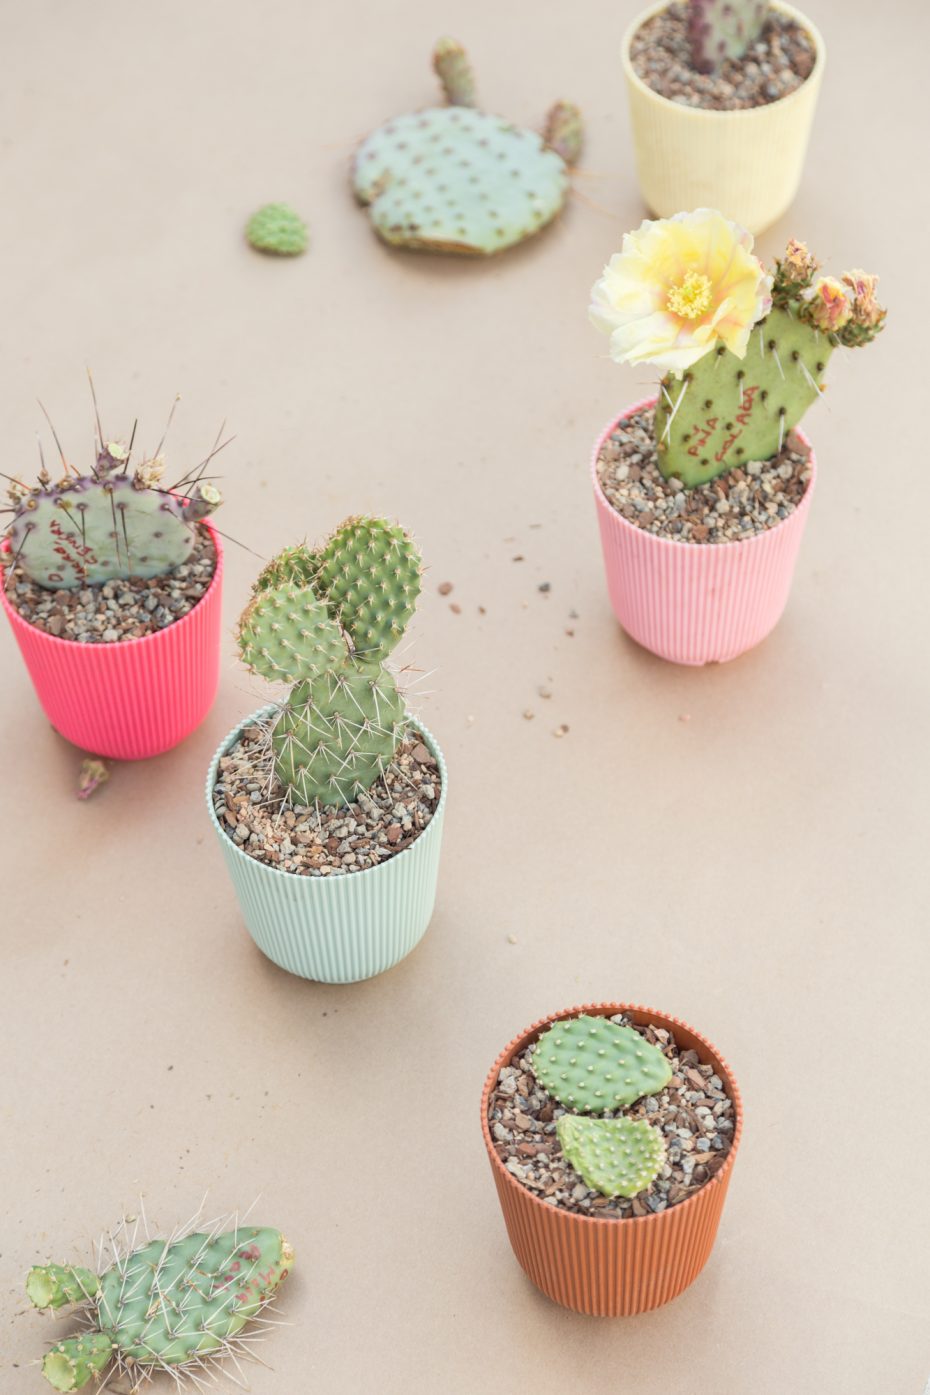
At first, I didn't follow this advice, as you can see in the photos. The only ones I laid down like this were the tiny ‘Red Gem Miniature' pads because I couldn't get them upright.
Well, as soon as I was done photographing and moved these to their permanent home on my potting bench, the pads all fell over, except one. So, save yourself the trouble and just lay them flat on the soil in the first place. So here's what they should look like:
Water and Wait
After you've lad the pads on the soil, its time to water. Simply soak the soil like you would for a full grown plant. You can keep the soil fairly moist for a couple weeks to help encourage the roots to grow more quickly.
I get asked a lot how to water leaves I'm propagating without letting water pool on the top of the leaves. For the most part, I don't worry about it. If water stays on top of the leaves, or in this case the pads, I just bump it a little to help the water run off.
Since cactus pads are so large, it can be a little difficult to get water under the whole pad. Just do the best you can. If you try to get all the soil wet, that will be good enough for the pads.
Roots can take anywhere from a few days to several weeks to form. The timeline has a lot to do with the type of Opuntia you're rooting and how much you're watering. With propagation, more frequent watering will help roots grow faster.
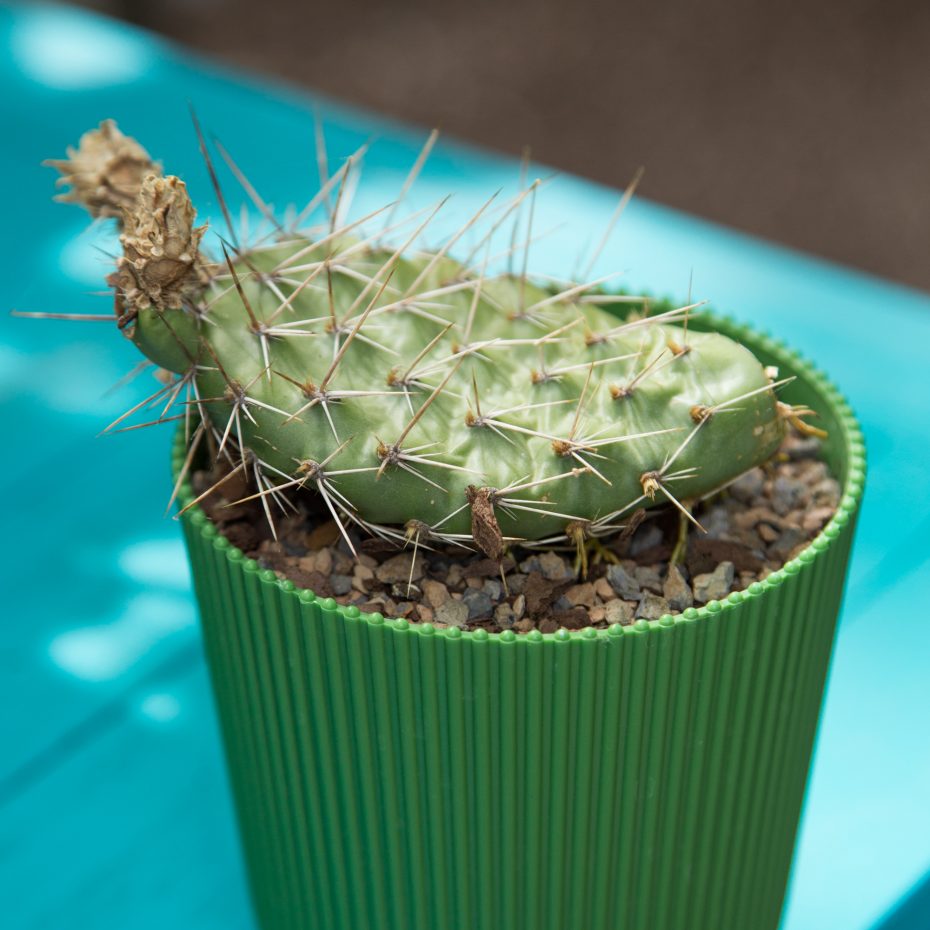
The roots will form on the areoles, the same spot the spines grow from. The pad below has been growing, with limited water for about 2 months. You can see the yellow tube like growths from the areoles. Those are the roots.
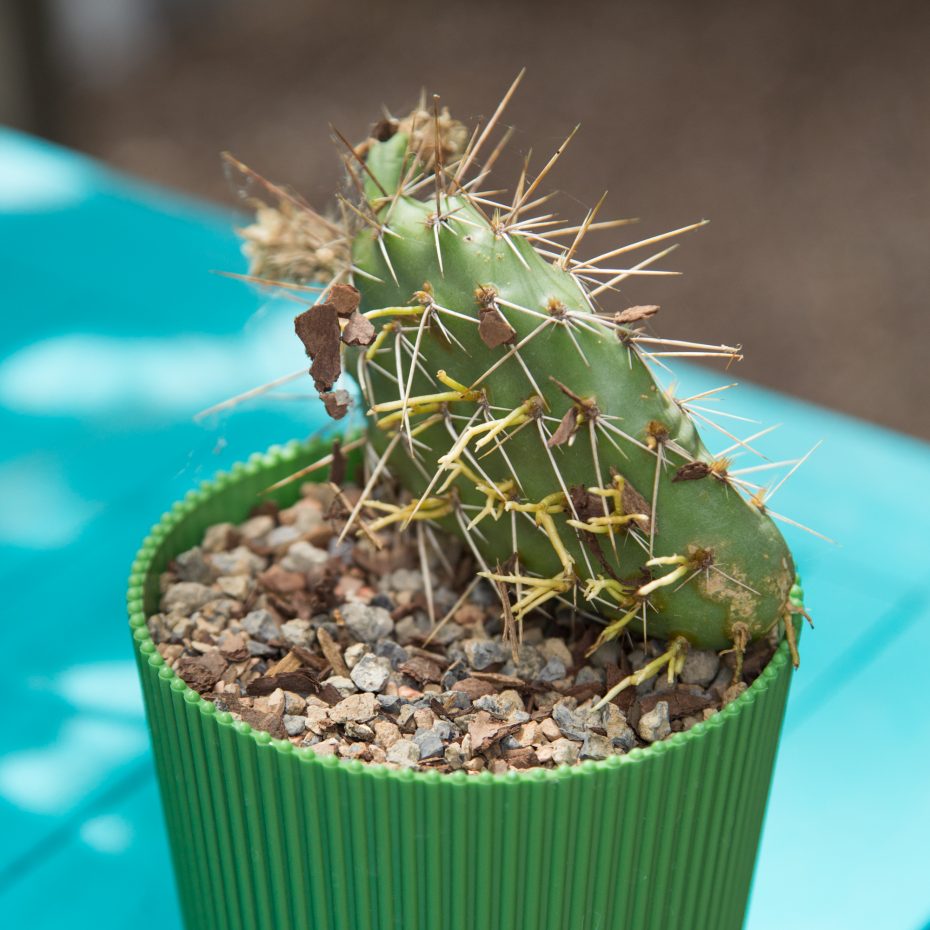
If I had watered a little more frequently, the roots would be longer. However, these roots are thick and healthy so they'll keep growing just fine.
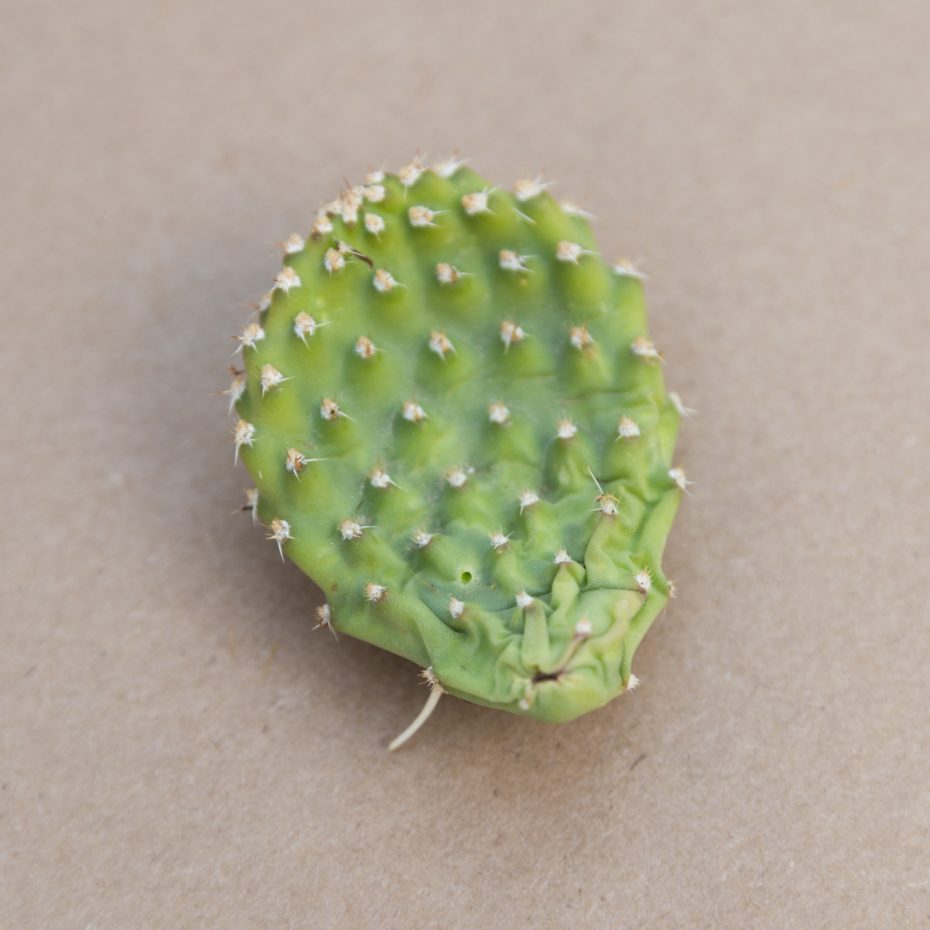
A large paddle from an Opuntia will generally take longer to form roots than a small pad. This ‘Red Gem Miniature' got roots in just over a week, while I still have some large pads that haven't been watered in a few weeks and don't have roots yet.
Once Roots Form
After your cactus pads start to form a good root system and the roots are in the ground and covered pretty well, you'll want to cut back on watering. Cactus are extremely drought tolerant and can rot if they get too much water, so err on the side of under watering.
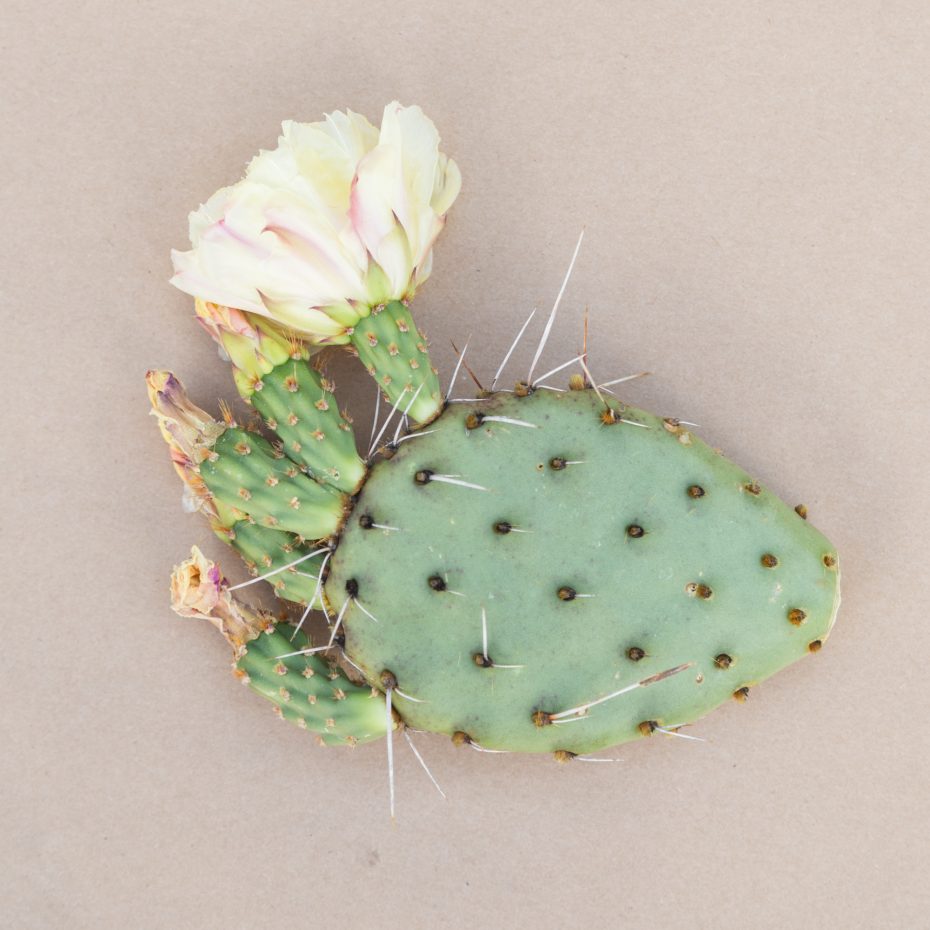
Each year your cactus pad will grow new pads and get bigger and bigger. In my experience, new pads won't form until the spring after you root the pad. So these, planted in May 2016, should get new pads in 2017. They are less likely to bloom the first year after planting, but it is possible. This one had some buds on it that bloomed after it was removed from the main plant!
These are cactus pads I got from Tom in two years ago and they have a few more pads on them than they did, about 2 per year. They aren't getting quite enough sunlight and are elongated for that reason. They've also been abused – moved around a lot and neglected.
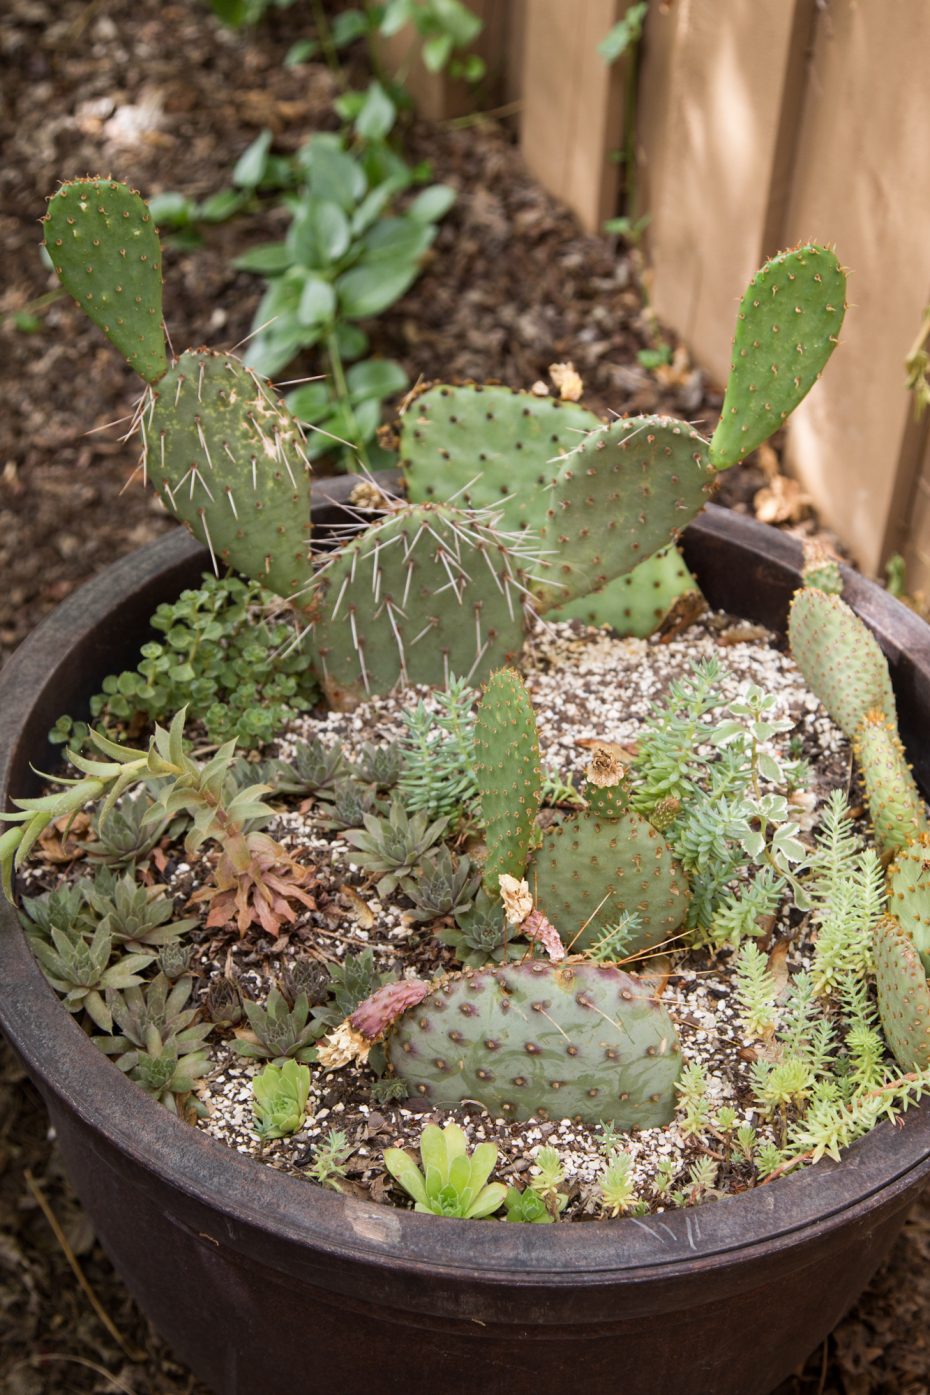
I'm hoping to take better care of these and my new ones to help them grow even better. I'll fertilize all of them in the spring to help the new growth really take off.
Hopefully this gets you excited about propagating some cactus of your own!
This article originally appeared on Succulents and Sunshine.