Outdoor Succulent Garden with Cold Hardy Succulents
An outdoor succulent garden isn't just for warm climates! See what you can do in four season climates with succulents in the ground.
Succulents and Sunshine is reader supported. We may earn a commission, if you purchase through links on our site, such as Mountain Crest Gardens, Amazon, or Etsy. We only promote products we use and trust.
While there are plenty of gorgeous succulent gardens in sunny southern California, it's harder to come by outdoor succulent gardens in four season climates, like Utah.
But…
You can have a gorgeous AND cold hardy succulent garden!
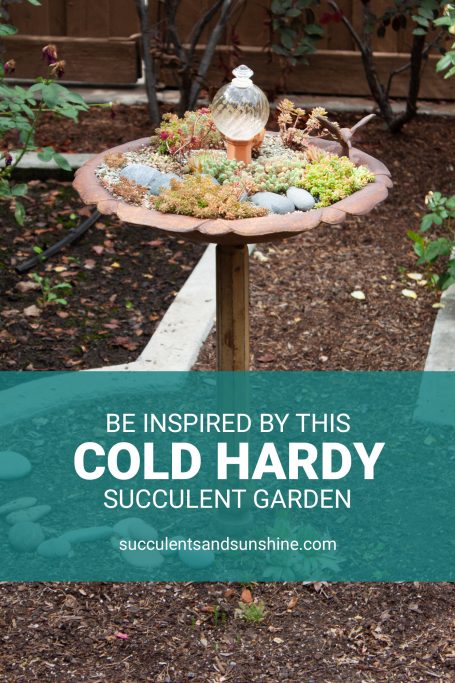
There are two main varieties of succulents that can tolerate freezing temperatures, Sempervivums (commonly called hens and chicks) and Stonecrop Sedums. Most will tolerate temperatures down to -20 degrees Fahrenheit.
I've been working on a variety of arrangements using strictly cold hardy succulents so I can have a gorgeous outdoor succulent garden year round, even when there's snow on the ground.
Throughout this post you'll find affiliate links to Mountain Crest Gardens to the various succulents I used for these projects.
While many of the succulents were provided to me at no cost, I absolutely love the succulents from Mountain Crest and would highly recommend them to anyone! You won't find a better selection of cold hardy succulents anywhere.
Let's take a tour of my outdoor succulent arrangements together, shall we?
You'll see a lot of different succulent collections and products in the videos below but I wanted to make it easy to see all of them at once, so here is a list of the products I used to create these succulent landscapes:
- 3 x Hardy 9 Sampler collection
- 2 x Sempervivum heuffelii 9 collection
- 3 x Rock Garden Hardy Succulent 9 collections
- 1 x Sempervivum Hens and Chicks 5 collection
- A variety of top dressings
- Ceramic toad house
- Self-watering globe
- The equivalent of a 1lb bag of unrooted Sempervivums
- Resin fairy house
- Colorful ceramic mushrooms
The Courtyard Garden
In the courtyard I used 2 of the Hardy 9 Sampler collection from Mountain Crest and 2 of the Sempervivum heuffelii 9 collection.
The plants are the same in each side, a hardy collection and a Heuffelii collection (a total of 18 per side), but are organized differently so they don't look completely identical.
We also added in a few annuals for some extra color during the summer months.
The Rock Garden and Bird Bath
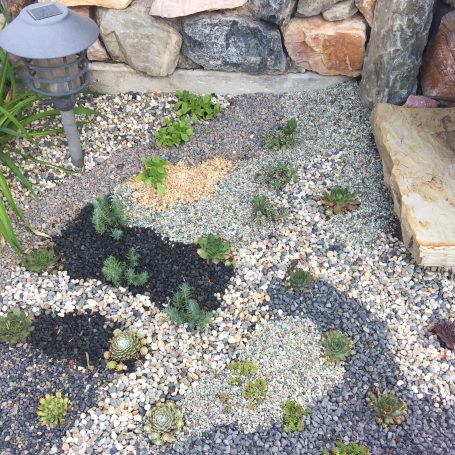
The rock garden as you walk into the back yard was created with 3 of the Rock Garden Hardy Succulent 9 collections and 1 of the Sempervivum Hens and Chicks 5 collection.
I love the way it has filled in since first planting, and it's only been a month! My sweet neighbor, Emma, had the great idea to use a variety of top dressings to create the paths.
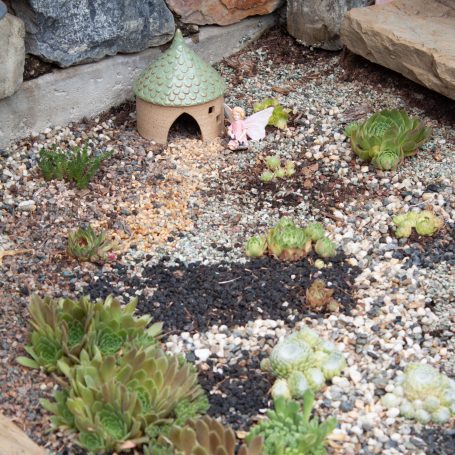
My mom added in the toad house (which we purchased from this Etsy seller), and put it up on some bark scraps to make it a little taller.
Emma planted a Hardy Sample Collection 9 in the birdbath. She split a few of the plants and placed them on opposite sides of the bird bath. I love how it turned out!
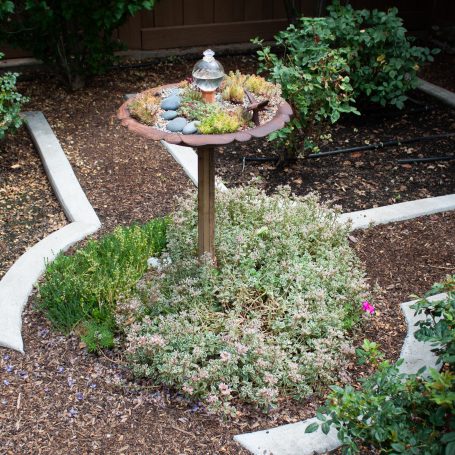
This is the third time we've planted the bird bath (you can see the first here and the second here). This year we added in this self watering globe and that has made a huge difference with how well the plants are surviving.
I'm hoping that the self-watering globe will keep things looking great even through the heat of the summer. We planted them at the beginning of May and it's been relatively cool, so here's hoping!
The plants below the bird bath and in the wire basket were planted in 2014 and have really taken off. I've pulled off some of the Sedums below the bird bath and planted them in a variety of places. You can't even tell they've been removed!
We added the path between the two main patches because there was a section that didn't survive. I had a great helper put that part in (see the end of the post).
The Succulent Chair and Fairy Garden
My favorite project of the year so far is the succulent chair. I'll have a full project tutorial very soon, but it was really easy and looks amazing!
Everyone who has seen it wants to take it home 🙂
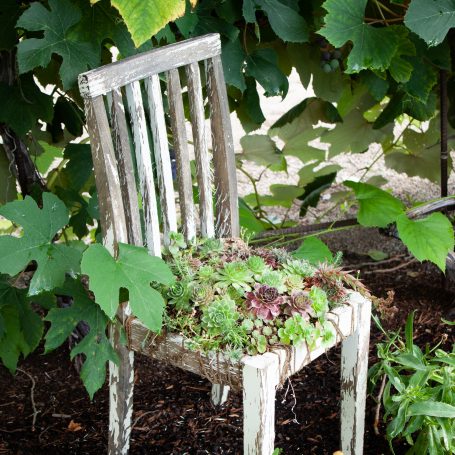
I used all “leftover” succulents for it, so some don't look super great, but the overall effect is stunning.
A fun option for planting something like this yourself would be Mountain Crest Garden's 1lb bag of unrooted Sempervivums. It is such a great value and it's like Christmas because you don't know exactly what you're going to get, but you know it'll be amazing.
The fairy garden in the back has also been a fun project, and a few years in the making. There are Sempervivums and Sedums surrounding the stump which have been there for 3 years.
This area doesn't get watered often, so I've been thrilled with how much it has grown despite the neglect.
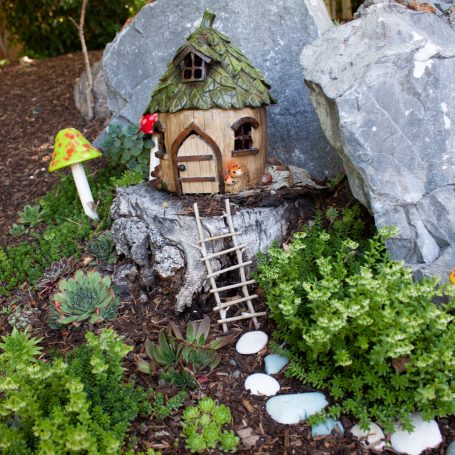
On the right hand side near the rocks I planted a bunch of Sempervivum “scraps”. Again, these are succulents that were in other pots that didn't do well, or some I've just neglected to plant in the last few months.
This area on the right gets slightly more water so it should fill in quite nicely. It will also get some manure tea fertilizer once a month to give it a little boost.
My mom purchased the fairy house (the one on the stump) from Amazon and you can find similar ones here.
The adorable ceramic mushrooms are from an Etsy seller, RooPottery. They were kind enough to send me these three for free so that I could give them a try and share them with you.
Honestly, I love them! They are very well made and the colors are so fun! I'm a bit addicted to pottery and ceramics, so these were a very welcome addition to the fairy garden. I love the pop of color they add.
The Shady Succulent Garden
While this part of the garden isn't my favorite to show off, I still wanted to include it here to show how well Sempervivums and Sedums can do in a variety of environments.
These definitely should be getting more sun, but most people won't notice and they are still prolific despite less than ideal circumstances, so we'll let them be.
The Potted Arrangements
The pots in this video are some of my favorite arrangements. While the plan was to keep them here (at my parents), my grandma saw them while she was visiting and they went home with her to Idaho Falls.
I'm excited to see how they do up there!
My Helpers
Getting all of these gardens planted was not a one girl job. I had quite a bit of help, some more helpful than others…
My kids love playing in the dirt and moving rocks around. They are 1 and 3 and very curious about and interested in working right along with me.
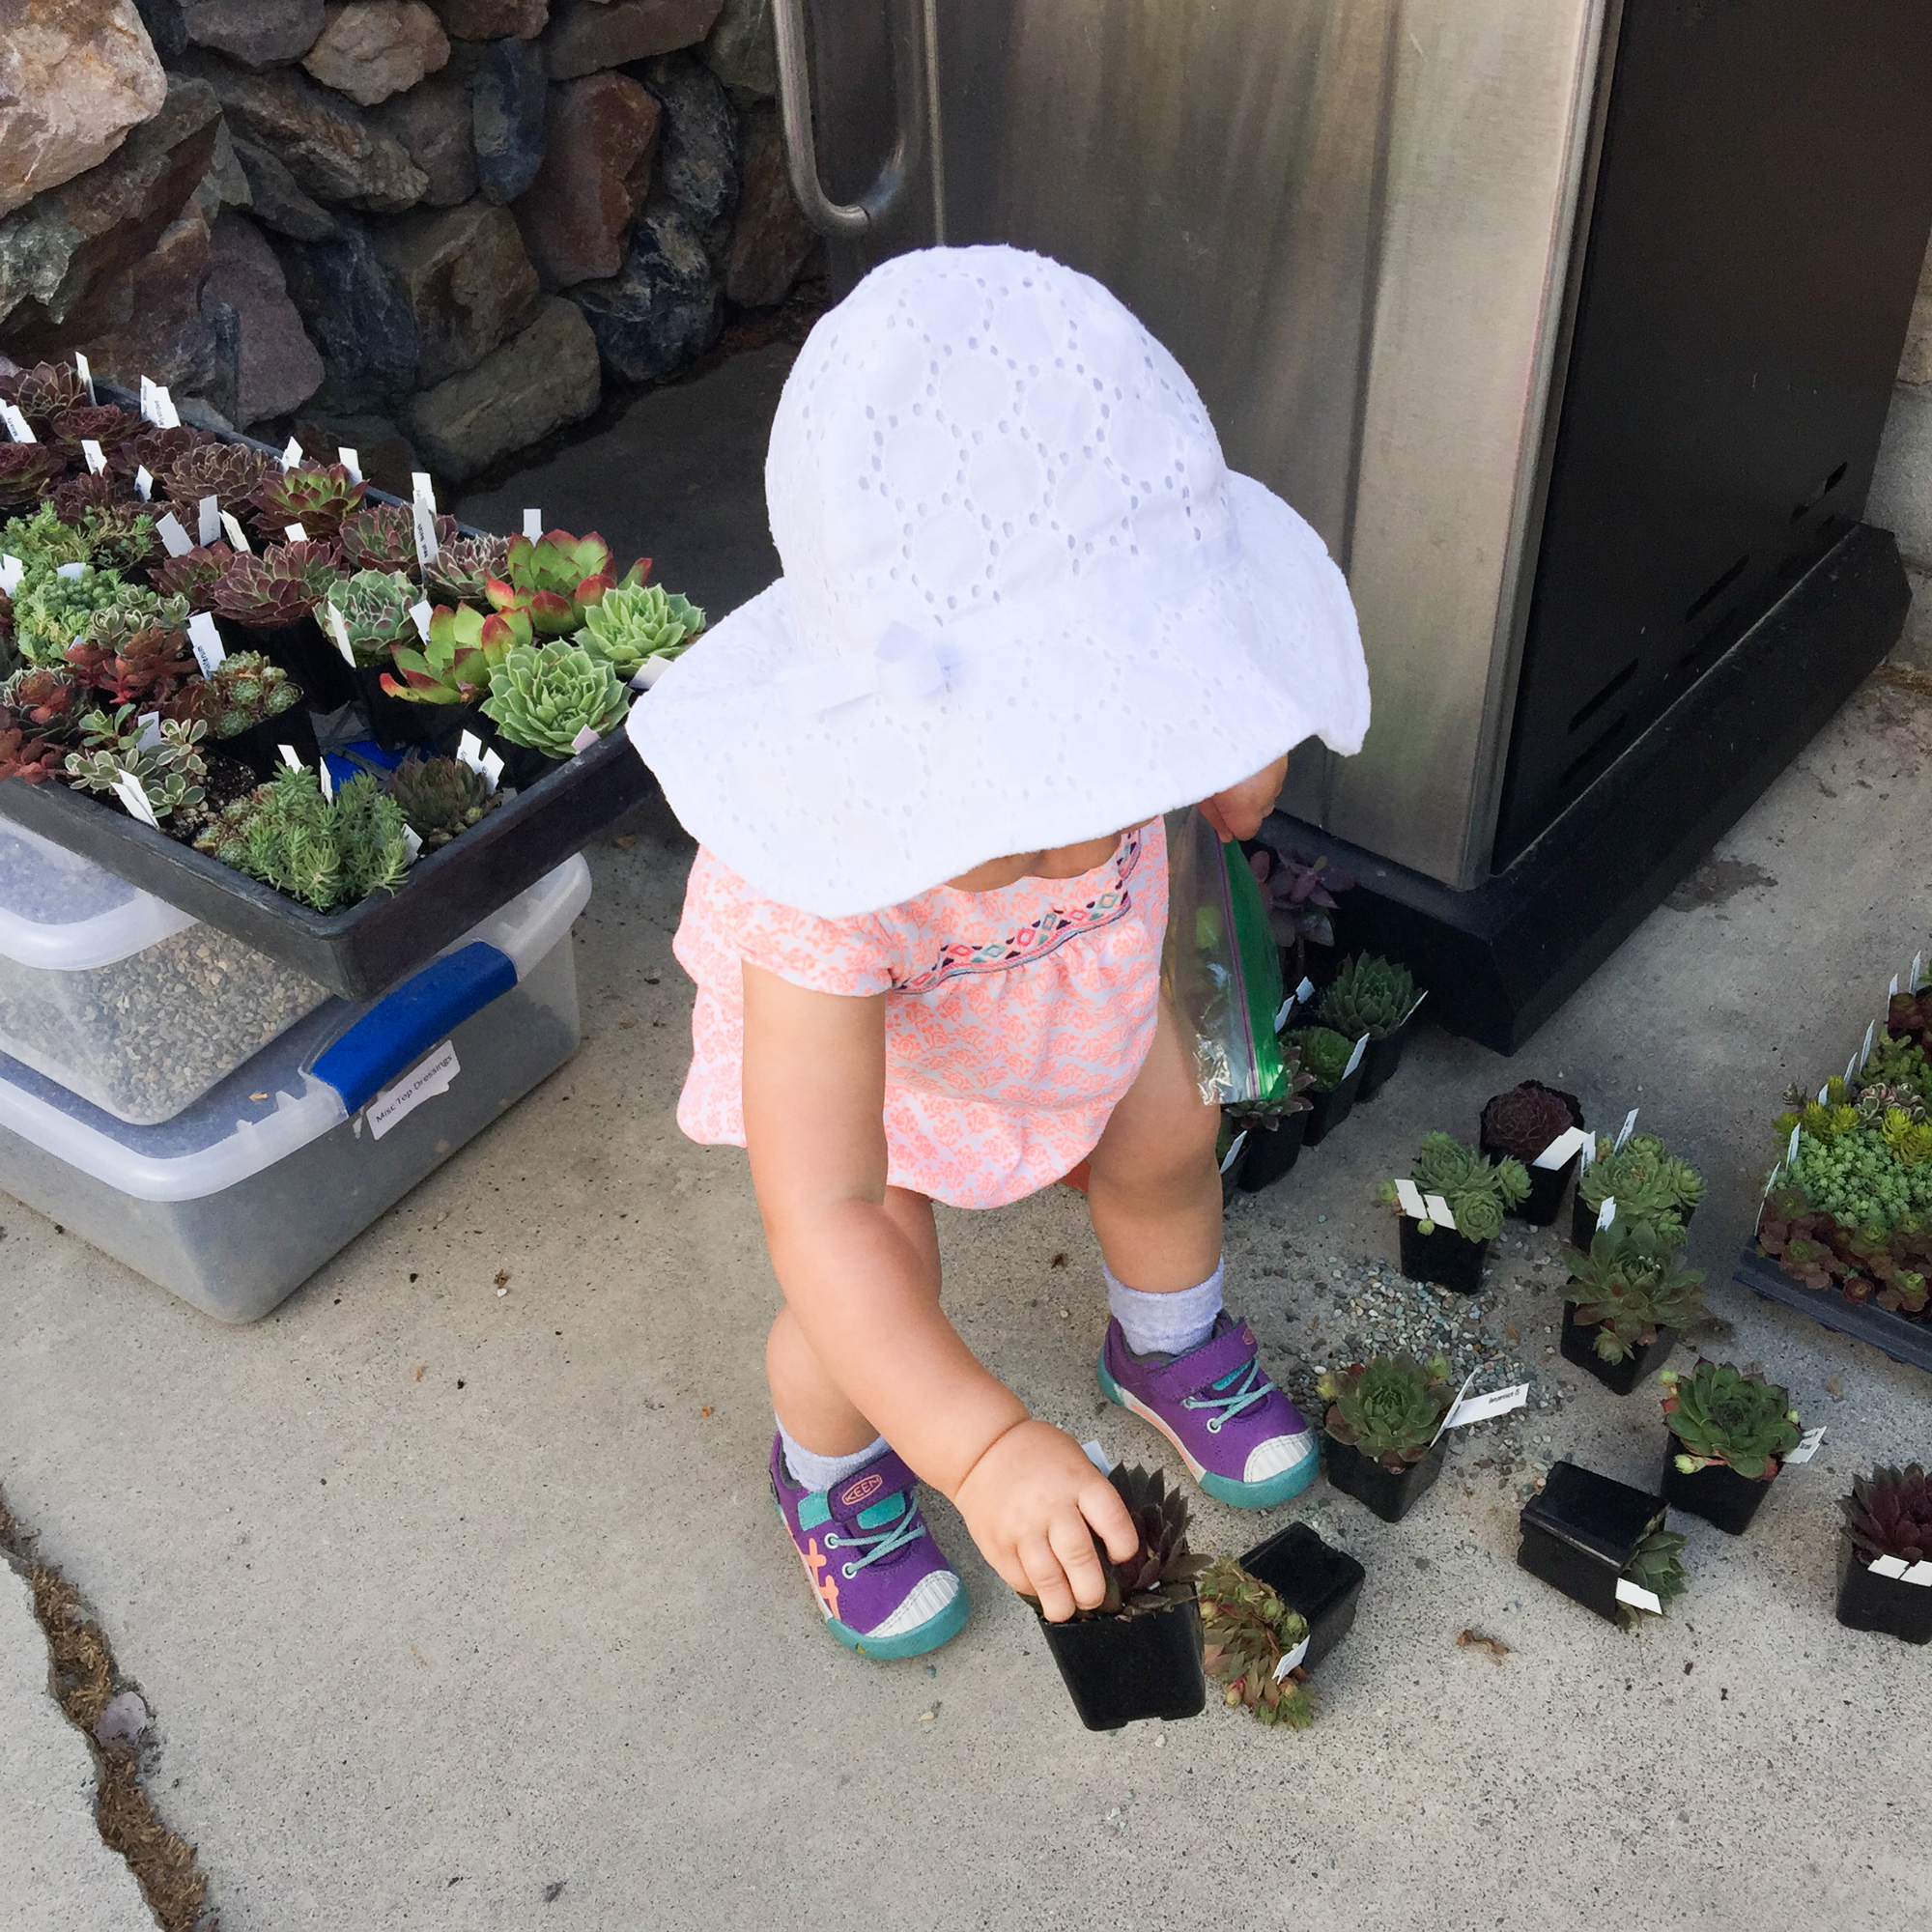
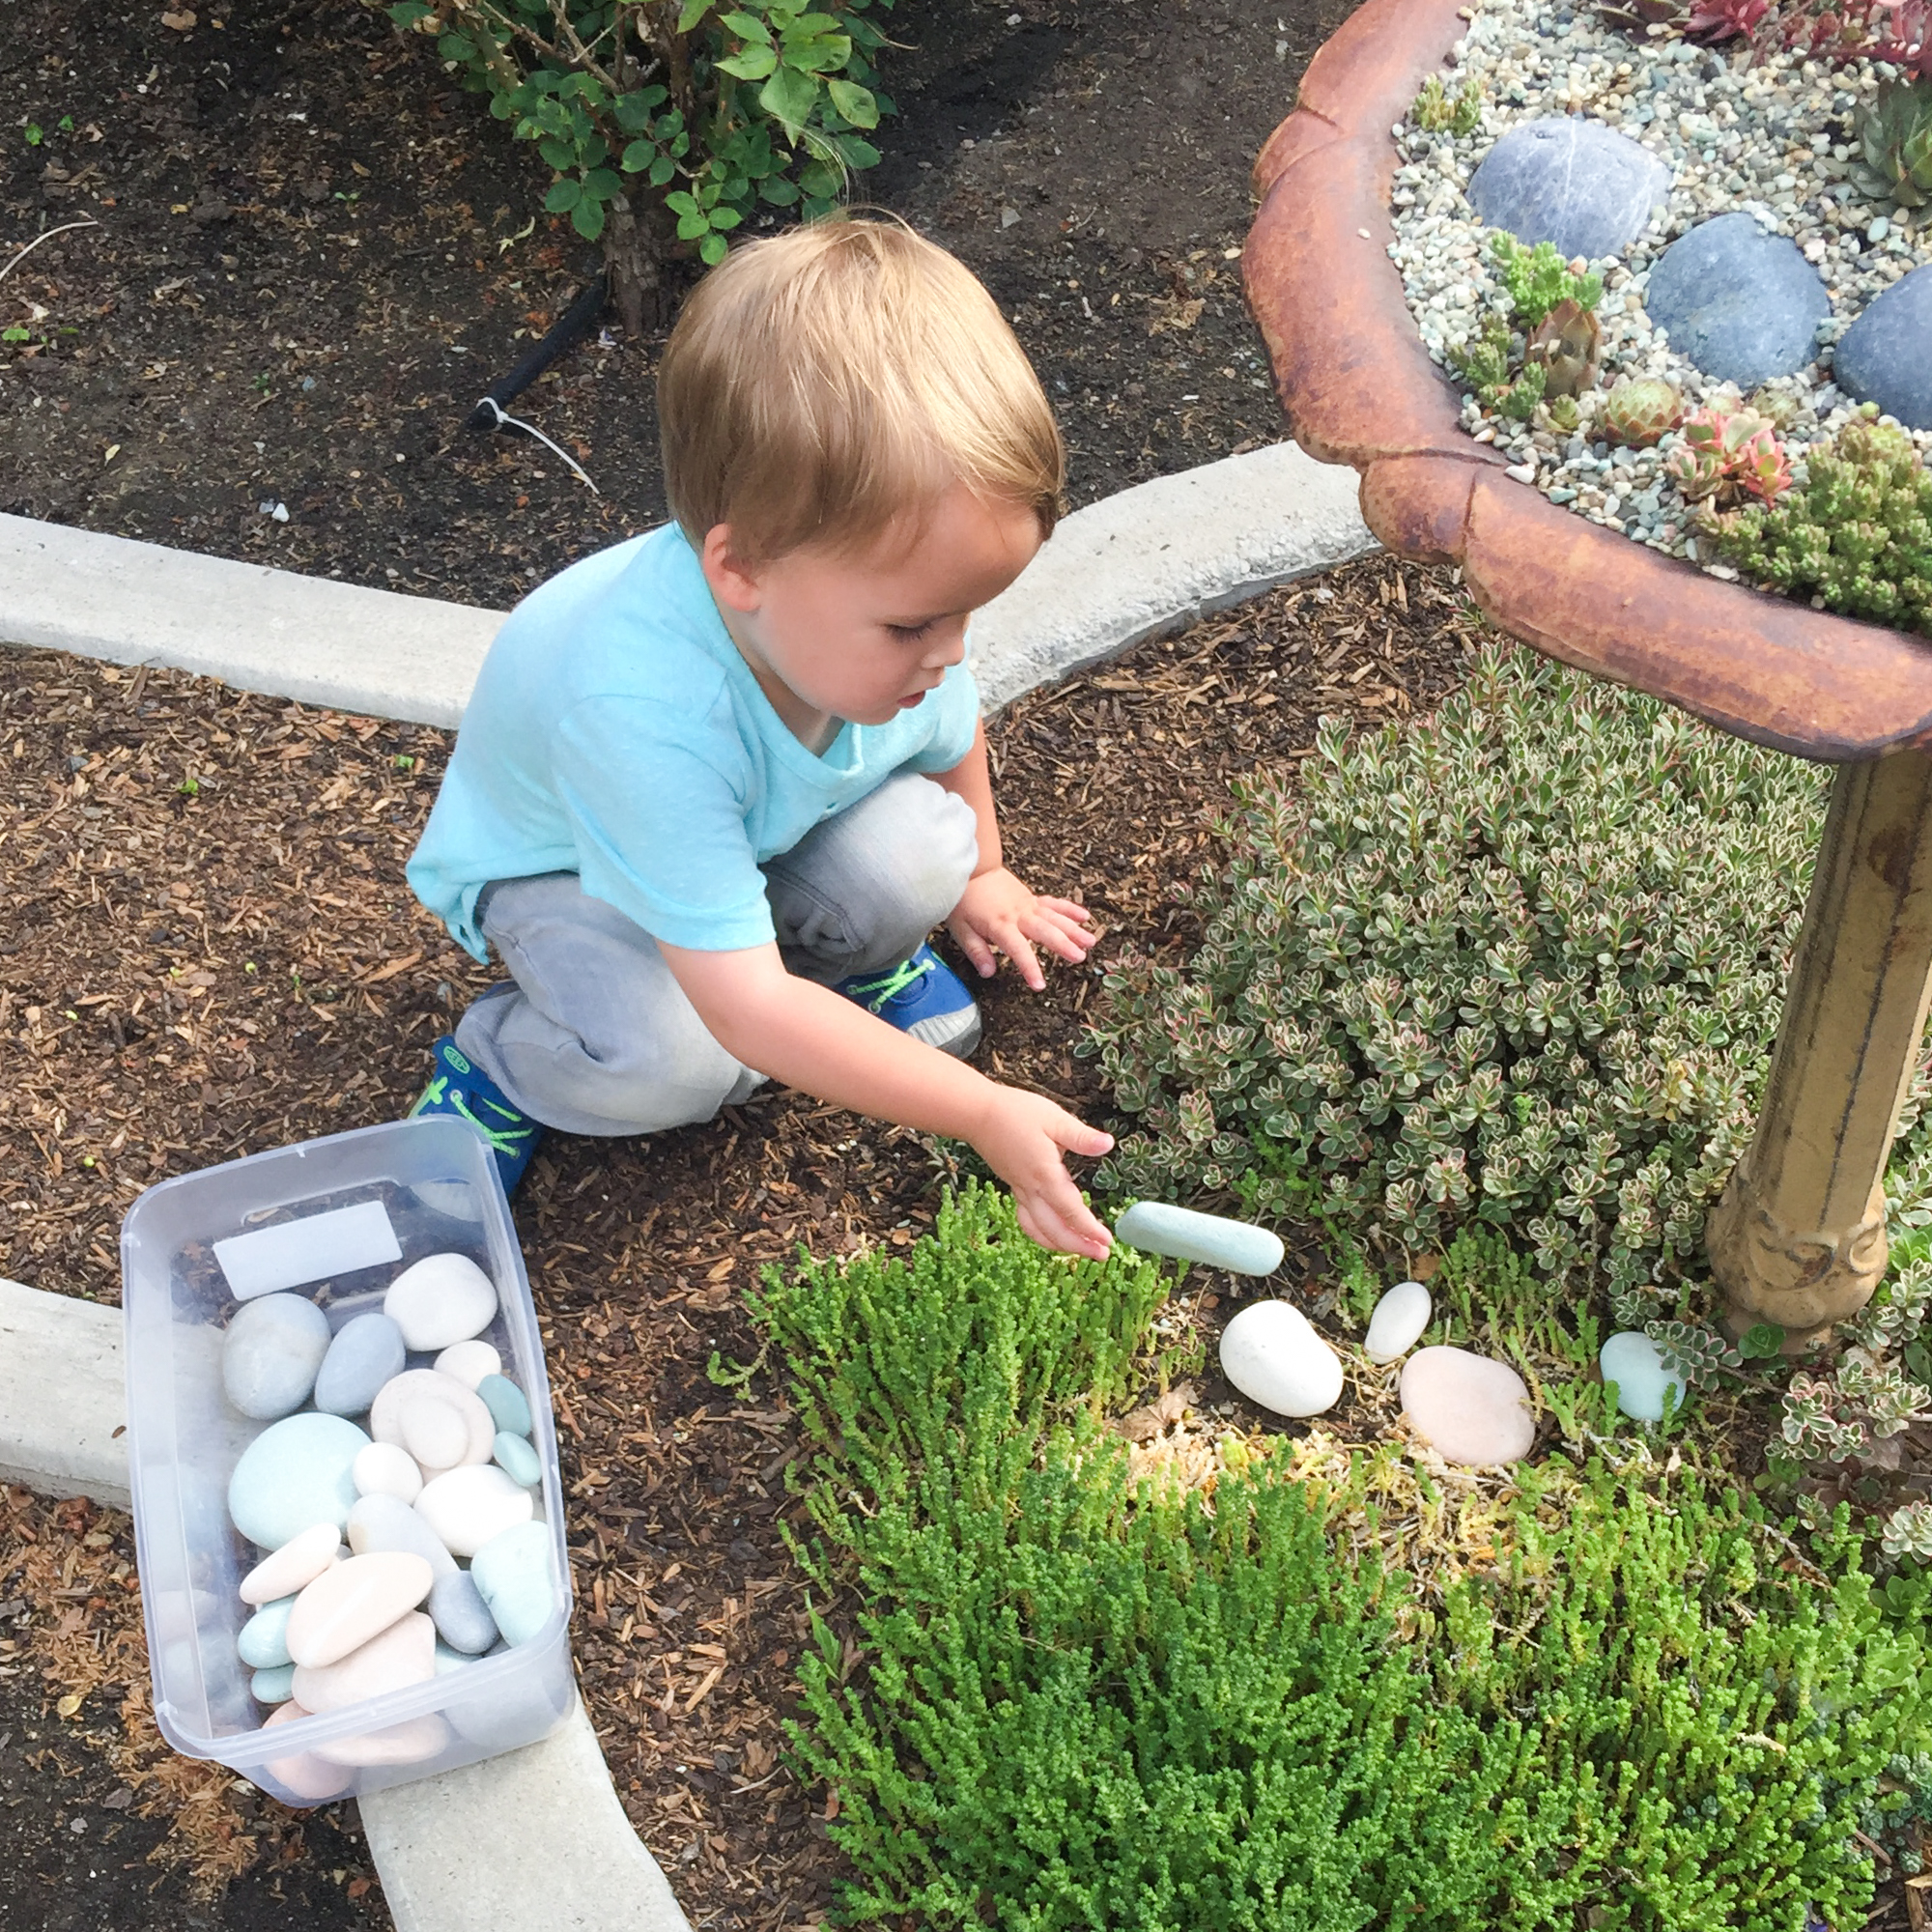
As I mentioned in the videos, my wonderful neighbor, Emma, helped with most of the planting. She had so many great suggestions for planting! It was fun to have her help.
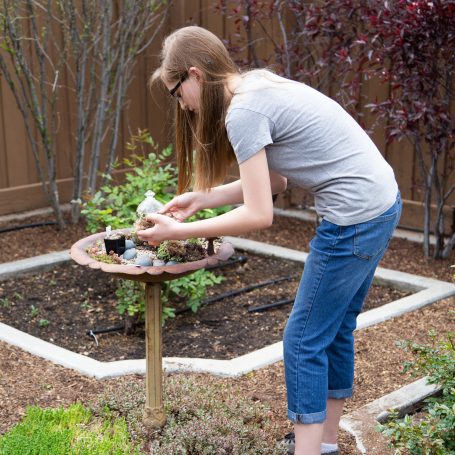
I think you'll find that outdoor succulent gardens can be stunning in any area of the world! You just have to find the plants that will work for you.
These cold hardy varieties are quickly becoming my favorites, especially since it means I can have my own outdoor succulent garden, even in the snow!
Take a look at this post of the garden just a few months later to see how well it has grown!
But, what if you've moved into a home that already has succulent arrangements planted?
While you don't get the fun of picking the succulents to plant yourself, the hard work of planting has already been done for you!
First, you'll want to identify the succulents that are planted. This will ensure that you're giving each plant the correct care.
After you've identified your succulents, you'll be able to learn their individual watering needs. My book, Idiot's Guide: Succulents is another great resource filled with valuable information on succulents, including their watering and light needs.