Miniature Succulent Topped Pumpkin Tutorial
Looking for a simple way to decorate pumpkins this year? Try succulent topped pumpkins!
Succulents and Sunshine is reader supported. We may earn a commission, if you purchase through links on our site, such as Mountain Crest Gardens, Amazon, or Etsy. We only promote products we use and trust.
Succulent topped pumpkins are all the rage. Last year I decided to create a succulent arrangement in an artificial pumpkin so it would last longer. I created a traditional succulent topped pumpkin for one of the projects in the Idiot's Guide as well.
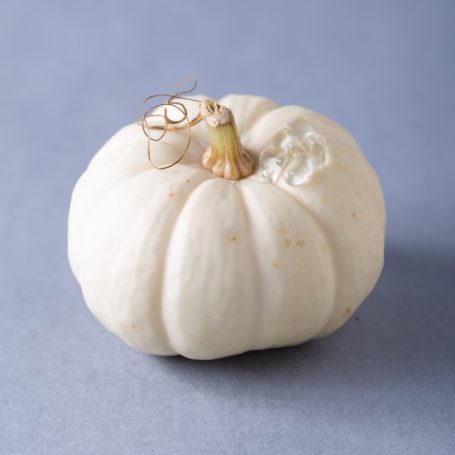
When I saw these adorable mini white pumpkins at my sister-in-law's house, I knew they needed succulents.
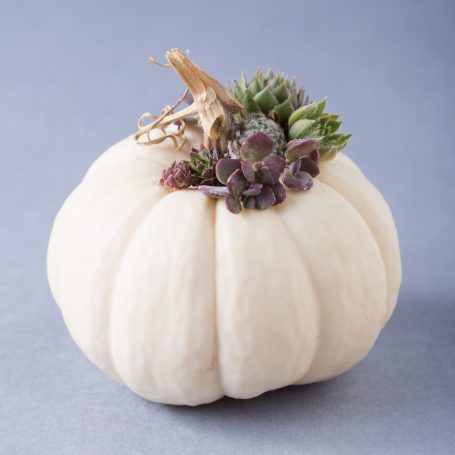
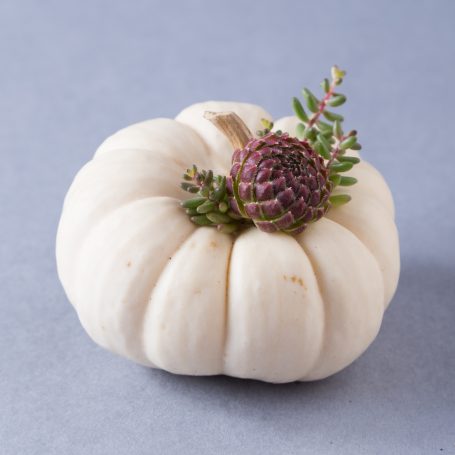
Rather than completely cover the top of the pumpkin, I decided to add just a “kiss” of succulents. This way the cute little pumpkin would still be very visible, but have a little decoration of it's own.
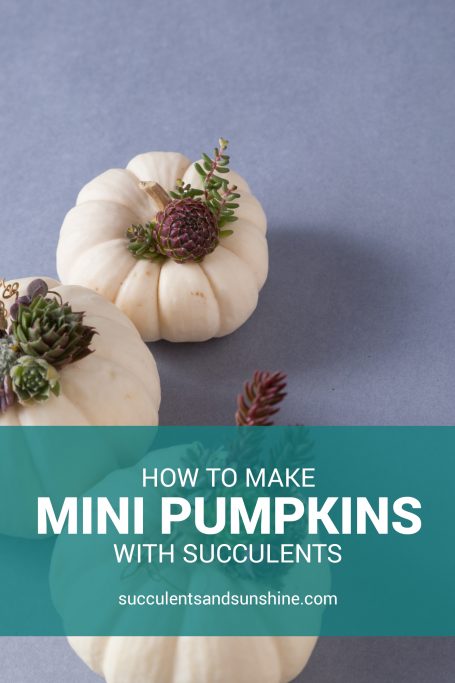
In order to keep the decoration small, I also needed small succulents. And, since I knew these would be outside I also wanted to make sure I used cold hardy succulents.
After browsing through Mountain Crest Gardens selection, I found quite a few varieties of tiny Sempervivums and Jovibarba hirtas. You can purchase the varieties of succulents I used for these pumpkins by clicking here.
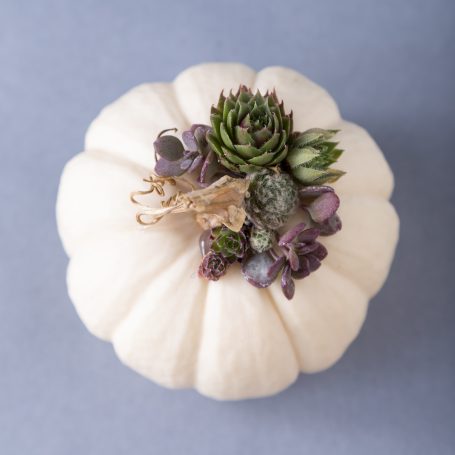
Any variety of succulents will work, but I have an obsession with tiny things at the moment, so the tiny succulent combined with tiny succulents was perfect. The steps to create a succulent topped pumpkin with larger pumpkins and succulents is the same.
Here's what you'll need:
- Succulents
- Pumpkins
- Sphagnum moss
- Floral Glue or Hot Glue
These pumpkins are really simple to make. The hardest part is deciding which succulents to use and where to put them.
I prefer to use floral glue for succulent projects, but hot glue is generally easier to find and will work as well. If you use a glue gun rather than floral glue, I highly recommend using a hot glue gun (as opposed to a low temp glue gun).
The hot glue will stick better to the pumpkin and succulents. Low temp glue tends to fall off the waxy pumpkin skin easily, but hot glue (and floral glue) will hold much better.
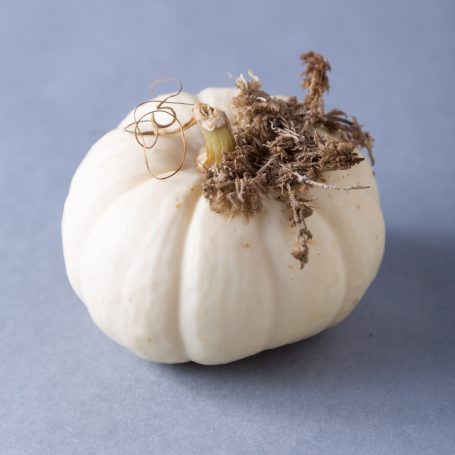
Start by gluing moss to the top of the pumpkin. The easiest way to do this is by putting glue on top of the pumpkin and then pressing the moss on top. Just make sure your moss is thick enough your fingers don't get burned by the hot glue.
Once the glue is in place, decide how you want to arrange your succulents and then glue them on top of the moss. Depending on the succulent you use, you may find it's easiest to place glue on the succulent and then put the succulent on the pumpkin.
You'll want to remove most of the soil and even some of the roots from your succulents. They will still survive just fine without roots and will eventually grow into the moss. You may find that leaving soil on makes it difficult to attach the succulents to the moss or pumpkin.
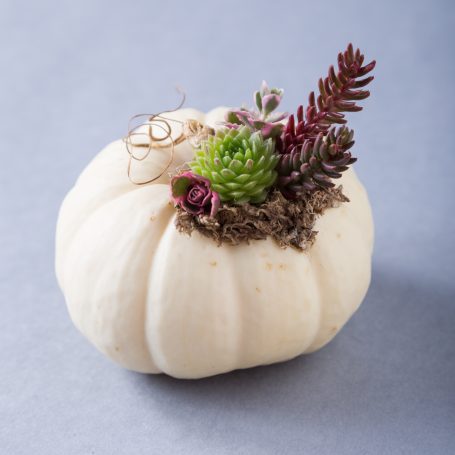
That's it! Your pumpkin is ready to go!

Jovibarba hirta ‘Hedge Hog', Sedum spathulifolium ‘Carnea', Sempervivum arachnoideum ‘Cebenese', Sempervivum ‘Desert Bloom' 
Sedum album ‘Black Pearl', Jovibarba hirta sobolifera
To care for succulent pumpkins, simply pour water over the top of the moss and succulents every week, or if you notice the leaves starting to shrivel. The pumpkins will last for several weeks, and sometimes months, as long as you don't puncture the pumpkin.
These will do best in bright indirect sunlight. Too much direct sunlight will cause them to dry up faster and can cause them to get sunburned.
Once the pumpkin starts to decline, you can gently remove the succulents and plant them in your garden or in a traditional pot and save them for next year! Just place them on top of soil and water every few days to help the roots become more established.
There are so many ways to use succulent topped pumpkins, whether it's for fall decor, Halloween party gifts, or Thanksgiving centerpieces. You could even use them for Christmas if they last long enough, which they definitely can!
