How to Plant a Succulent Garden in an Ikea Cart
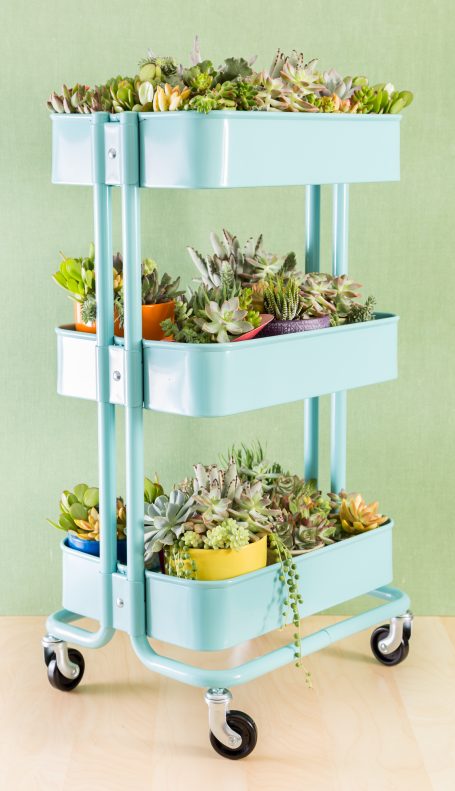
Looking for a fun way to decorate with succulents? Try planting them in an Ikea cart! With this simple Ikea kitchen cart hack you'll be able to easily move your plants and it makes for a great small space or vertical garden. This is a step by step tutorial with photos for planting succulents in the cart.
Succulents and Sunshine is reader supported. We may earn a commission, if you purchase through links on our site, such as Mountain Crest Gardens, Amazon, or Etsy. We only promote products we use and trust.
While photographing for one of my succulent ebooks, I ordered quite a few plants to use for photos. In the end, I had some that didn't make it into pots so I need to find a way to get them planted so they wouldn't die. There were quite a few, so I wanted to try something a little bigger than the cute potted arrangements I had made for the book. I also knew I was going to be teaching a class and would need a way to transport a bunch of arrangements easily. So, I came up with the idea to get this cute cart from Ikea and turn it into a succulent planter!
I know this idea isn't 100% original and other people have used this cart for plants, but I wanted to put my own twist on it. Honestly though, I had been wanting to buy one of these carts for a while so it was a good excuse :). I've included a step by step tutorial below so you can see what I did.
Here's what you'll need to make this fun succulent garden:
I will warn you that I made a big mistake that I didn't realize until it was too late. To better show you how I planted this little succulent garden, I left one of the shelves off and figured I'd just put it back on when I was done. Due to the way the cart is assembled, this was a problem. You have to tighten a bolt on the inside of the shelf in order to attach it to the cart. If the shelf is full of dirt, that is nearly impossible. Fortunately my husband has quite a collection of tools and between the two of us working on it we were able to get it put together. But, the moral of the story is… if you decide to do your own succulent planter like this, assemble the cart completely before filling the shelf or shelves with plants!
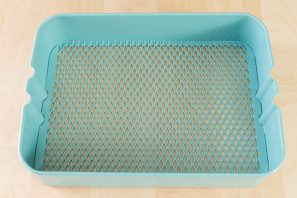
Alright, now that you know what to avoid, let me show you what to do! I started by placing a small mesh on the bottom of the shelf. It is really nice that these shelves were mesh in the first place (great for drainage!!!) but I knew my soil mixture would fall through the holes and make a mess. I used window screening which had large enough holes to let water flow through, but small enough the soil didn't. Then, I filled the shelf with soil.
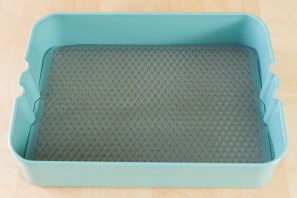
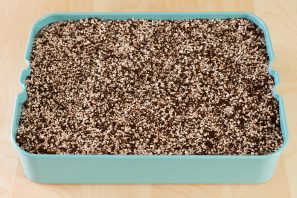
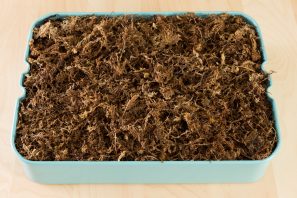
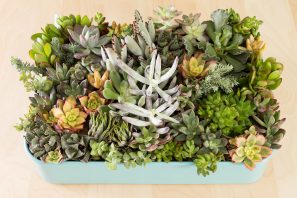
After the shelf was filled with soil I placed sphagnum moss on top. It is much easier to work with when it's wet, so be sure to wet it before placing it on. The reason I decided to use the moss was to prevent the soil from showing as much and to keep it in place better. I knew if I actually rolled the cart around the soil would bounce a little bit and maybe fall out. Plus, the moss also gave it a nice finished look.
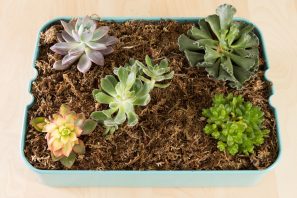
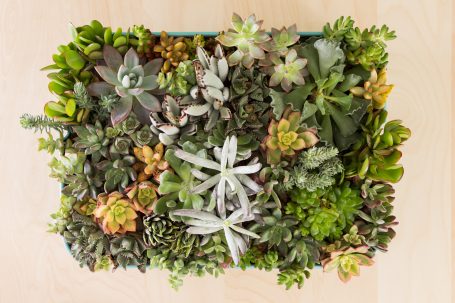
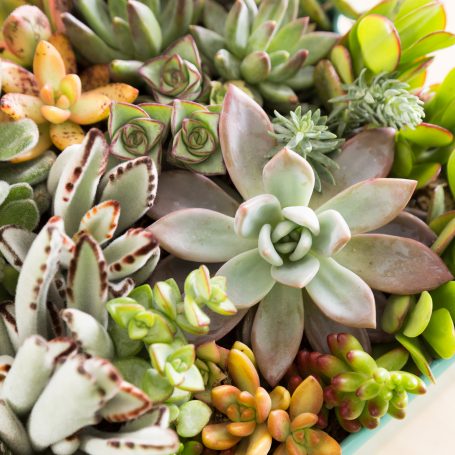
After I had the moss laid on top I started planting my cuttings! I've been trying to work on my container garden design skills lately so I tried to have some rhyme and reason to how I put this together. I started with a few larger plants and spaced those out somewhat evenly across the top of the planter. Then I started to fill in with other plants in contrasting colors and textures.
If I used a plant on one side of the planter, I tried to place some of the same plant on the opposite side to give it some continuity. Overall I'm pretty pleased with how it turned out! I was wishing I had some string of pearls that I could have draped over the side for a little more interest. As is, I liked that it was a little more unusual as you don't see a lot of rectangular planters.
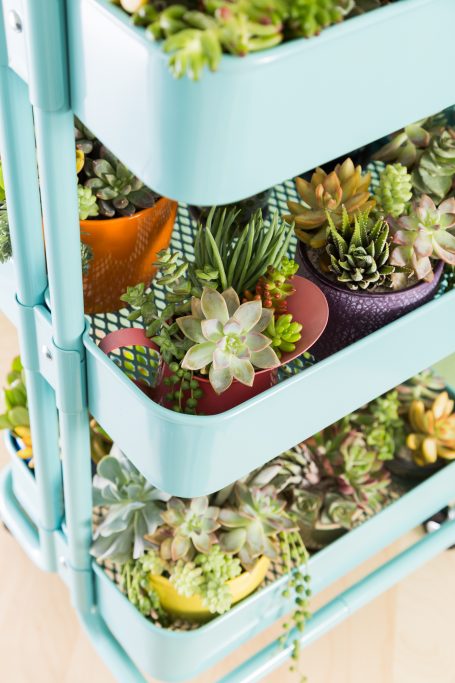
After I had the cart assembled again, I placed a bunch of my other pots of succulents on the empty shelves below the container garden I had made. I love how colorful everything looked with the plants, the pots and the cart. It was such a fun project and a great excuse to buy the cart :)! Plus, I love that I can easily move my plants around so I can better provide them with the amount of sunlight, rain, or shade that they need!
