How to Plant a Succulent
If you've been wondering how to plant succulents to ensure they grow long and happy lives, this is the post for you! This step-by-step photo tutorial for planting newly purchased succulents will help give you a good foundation for your next succulent garden!
Succulents and Sunshine is reader supported. We may earn a commission, if you purchase through links on our site, such as Mountain Crest Gardens, Amazon, or Etsy. We only promote products we use and trust.
I'm so glad you're interested in learning how to properly plant succulents!
Before I get to the step by step planting tutorial, make sure you have all the supplies you'll need. Check out this list on my post about essential supplies for planting succulents.
This includes choosing a pot or planter that's ideal for your succulents. Take a look at my tips for choosing pottery for succulents in this post.
And to help you even further, start by downloading my free cheat sheet to see what it looks like when your succulents need more or less water. Click here to grab that that, it'll be super helpful.
Once you've read through those posts and gathered the supplies you need, you're ready to start potting!
Below, you'll find step-by-step photos to show you, from start to finish, how I re-pot a newly purchased succulent.
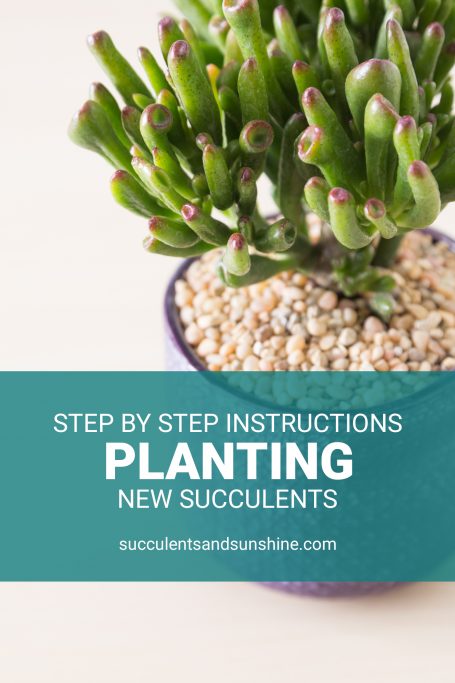
When to repot succulents
There are various times it's necessary to repot your succulents. The first is right after you buy them. A lot of times nurseries will grow succulents in a very organic soil that doesn't drain well.
This works ok in the nursery where the climate is controlled, but generally doesn't work well once you bring your succulents home. It's best to repot succulents into fresh soil after you purchase them.
Another time you'd want to repot your succulents is when they've filled up or outgrown the pot they're in. Often they'll be "root bound" meaning the roots are filling up the pot and the plant doesn't have space to grow more roots.
It's very common for succulents from a nursery to be root bound as it can help reduce the speed at which succulents grow, meaning the nursery doesn't have to repot their succulents as often.
As a general rule, I recommend leaving about 1/2" to 1" (1-2.5cm) between the edge of the pot and your succulent's leaves. If your succulent is about 3" (7.5cm) in diameter, then you'll want to place it a pot that's about 4" (10cm) in diameter.
Remove Your Pot and Soil
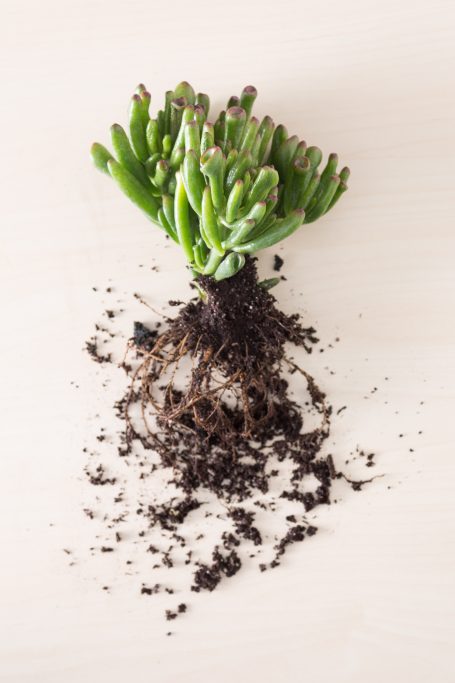
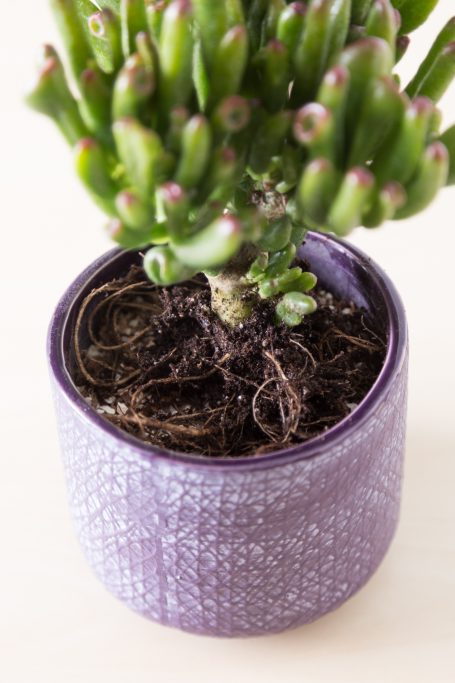
The first step of successful succulent planting is to get rid of the nursery pot and remove as much soil as you can. Nurseries almost always plant their succulents in soil that's way too dense and retains too much water. The more of this nursery soil you're able to get rid of, the healthier your succulent's roots will be.
You may not be able to get all the soil off without damaging the roots, and that's totally fine. Just get rid of as much as you can while being gentle on your succulent.
I don't generally recommend washing off your succulent roots as this can be problematic for them and cause problems down the road. I cover this in more detail in the video below:
If you're planting your succulent by itself (as I am here), you'll want to leave the roots intact as much as possible. On the other hand, if you're putting together an arrangement with several succulents, you might want to break off some of the roots.
Getting rid of some roots won't create any big problems–your succulent will survive just fine either way. And, if you're lucky enough to have babies attached to your main plant, now is a good time to remove them if you'd like.
Place Mesh Over the Drainage Hole
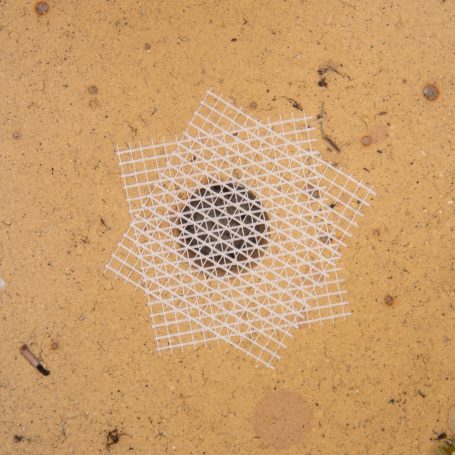
Although a drainage hole is important for the health of your succulent, you don't want your soil to fall out of it. Use some mesh tape to prevent the biggest chunks of soil from falling out.
Mesh tape works well because it allows for water to flow out easily, but will still hold in most of the soil. You'll probably get some “dust” falling out, but that's normal.
If you want, you can also use a mesh screen instead of the mesh tape.
Fill Your Pot Almost to the Top
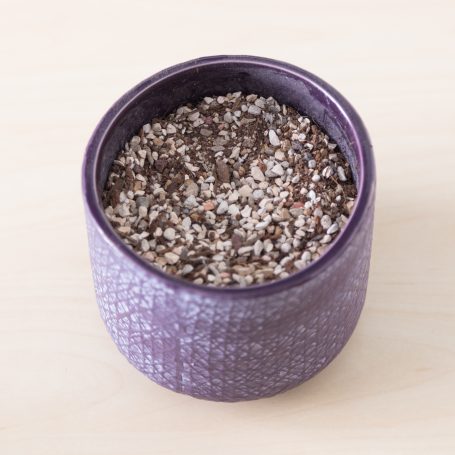
Before you place your succulent in the pot you've chosen, fill it almost (but not quite) to the top with succulent soil. Leave a little bit of room at the top, so the roots will have a comfortable fit, and you'll be able to add more soil later on.
Place Your Succulent
Now it's time to add your succulent to the planter! You can plant it–centered or off-center, whichever you'd like.
Nestle some of the roots into the soil, so they'll get as a bit of a head start on growth.
Fill the Pot All the Way to the Top
Now it's time to fill up the pot. You want to leave just a tiny bit of room between the top of the soil and top of the pot. Make sure the leaves of the succulent sit completely above the soil, to prevent rotting.
If you've purchased soil from Bonsai Jack, you'll have an awesome chopstick that's great for poking your soil over and over, which will help remove any large pockets of air between the roots.
This will help prevent your soil from sinking down after a few waterings.
Add a Top Dressing
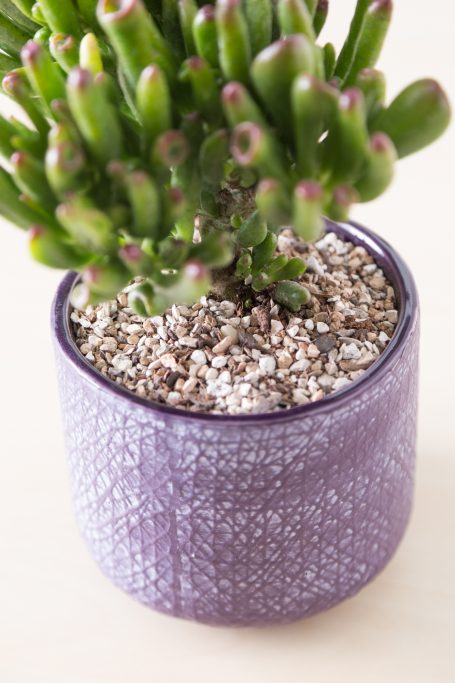
To finish off your potted succulent, add a top dressing. This is why you left a little bit of room at the top of your pot.
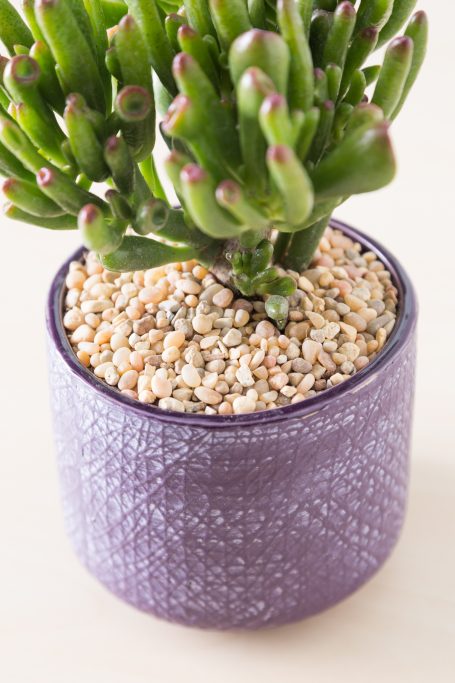
The top dressing can be something bright and fun or a simple gravel, like I used here. As you add your top dressing, press down on the soil to help the succulent stay in place.
Most important!!!
Once your succulent is potted and the top dressing is in place, let it sit for one to two days before you water it. This resting period will give the roots time to heal before they start soaking up water, which helps prevent root rot.
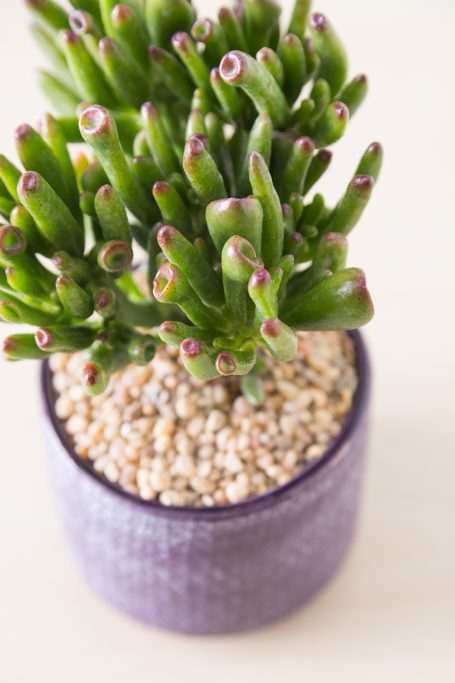
And that's all there is to it! Pretty simple, right?
The most common mistakes I see in potting are a) not removing the soil from the roots, b) forgetting to add a top dressing, and c) watering too soon.
Follow the steps above, and you'll avoid these common problems, and get a great start on your healthy succulent garden!
And if you didn't get it already, be sure to download my free cheat sheet to see what it looks like when your succulents need more or less water. Click here to grab the cheat sheet.