How to Make a Living Succulent Wreath
Learn how to make a living succulent wreath with this step by step photo tutorial! This fun DIY project is sure to make a statement on your front door!
Succulents and Sunshine is reader supported. We may earn a commission, if you purchase through links on our site, such as Mountain Crest Gardens, Amazon, or Etsy. We only promote products we use and trust.
Ta da! My succulent wreath tutorial is here! I know you've all been anxiously waiting right? 🙂 I took pictures along the way and turned them into a video of sorts. It was a fun but very time consuming process to create the wreath but totally worth it in the end. I can't wait until the roots develop and it gets warm enough to hang outside!

Let me start off by saying that this process was a lot more difficult than I expected. It's not terribly hard, but it definitely presented some challenges. Overall I'm pleased with how the living wreath turned out and I'm excited to see how it grows. There is a little video at the end that shows start to finish what I did with the wreath.
Here's what you'll need to make your own succulent wreath:
- 15″ sphagnum moss wreath form
- Greening pins (although if you buy the form above it comes with some)
- 200 succulent cuttings
- Scissors
With that, here is what I did!
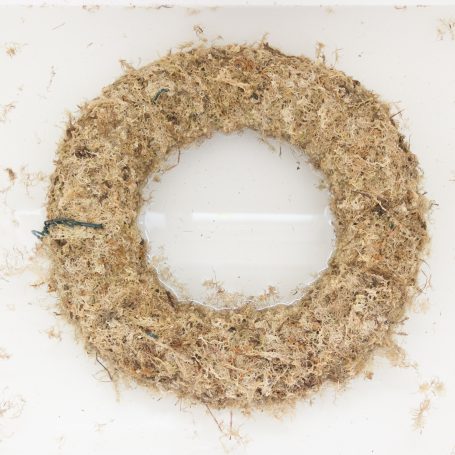
Buy or Create a Spangham Moss Wreath Frame
After seeing what other people have done with living wreaths and succulent wreaths, I decided that rather than making my own wreath base I would just buy one. Daniel (who I bought my original succulent cuttings from) recommended getting a form from Topiary Artworks. After looking around a little more, I decided they were the best option. They have great quality wreaths and their prices are terrific. I bought the 15″ Living Wreath. It is a pretty good size and with the 200 succulent cuttings I got, I had plenty of plants to fill it with.
Soak the Moss Wreath
Basic instructions for making a wreath came with my purchase. The most important part of this whole process (well, at least initially) is making sure the wreath is fully soaked before you begin adding cuttings. I had thought it would be nice to work with the wreath dry, but it just falls apart. Once soaked all the way through (I soaked mine in the bathtub for about 15 minutes), the wreath is very easy to work with although it weighs a lot! I'll be glad when it drys out a little so the wreath isn't as heavy.
Plan Your Design
I realized after the fact that it would have been smart for me to take a picture of how I designed the wreath before creating it. Basically, I just laid out all of the cuttings in a circle the approximate size of my wreath. This was a really great thing to do. I was able to see if the overall design is what I wanted and I got an idea of how many cuttings it would actually take to make it look right. Unless you are very confident in your design skills (and even if you are…) this is a step I would not skip. It will help your wreath look better in the end and you'll use your cuttings more efficiently.
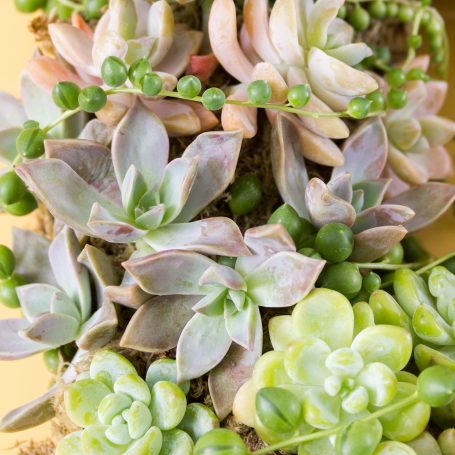
Check out this post to learn about the concept of “thriller, filler, spiller”. It inspired the design for this wreath. I knew I wanted to have one larger cutting near the bottom (thriller) and I purchased a large pot of the String of Pearls variety of succulent to use to make the wreath unified and add a more flowing element (spiller).
Use Scissors or a Dowel to Poke Holes in the Wreath then Add the Cuttings
Now the fun (and hard work) begins! You'll need some sort of tool to poke holes in the wreath. I decided to use scissors since the size was about right, but you could use a pencil, a dowel, a stick, or anything else you can think of. Once you have a hole, put your cutting in it and, viola!
If you need to hang your wreath up sooner than 6 weeks after making it you'll want to purchase some greening pins (like giant bobby pins or the wire things that you use to hold curlers in your hair). Basically, the pin goes over a leaf or the stem of the cutting and into the wreath to help hold it in place. Even though my wreath was laying flat (as it should be) I had some cuttings that didn't want to stay put. Some didn't have a very long stem or, in the case of the string of pearls, just wouldn't go in a hole in the wreath. So, moral of the story… buy greening pins!
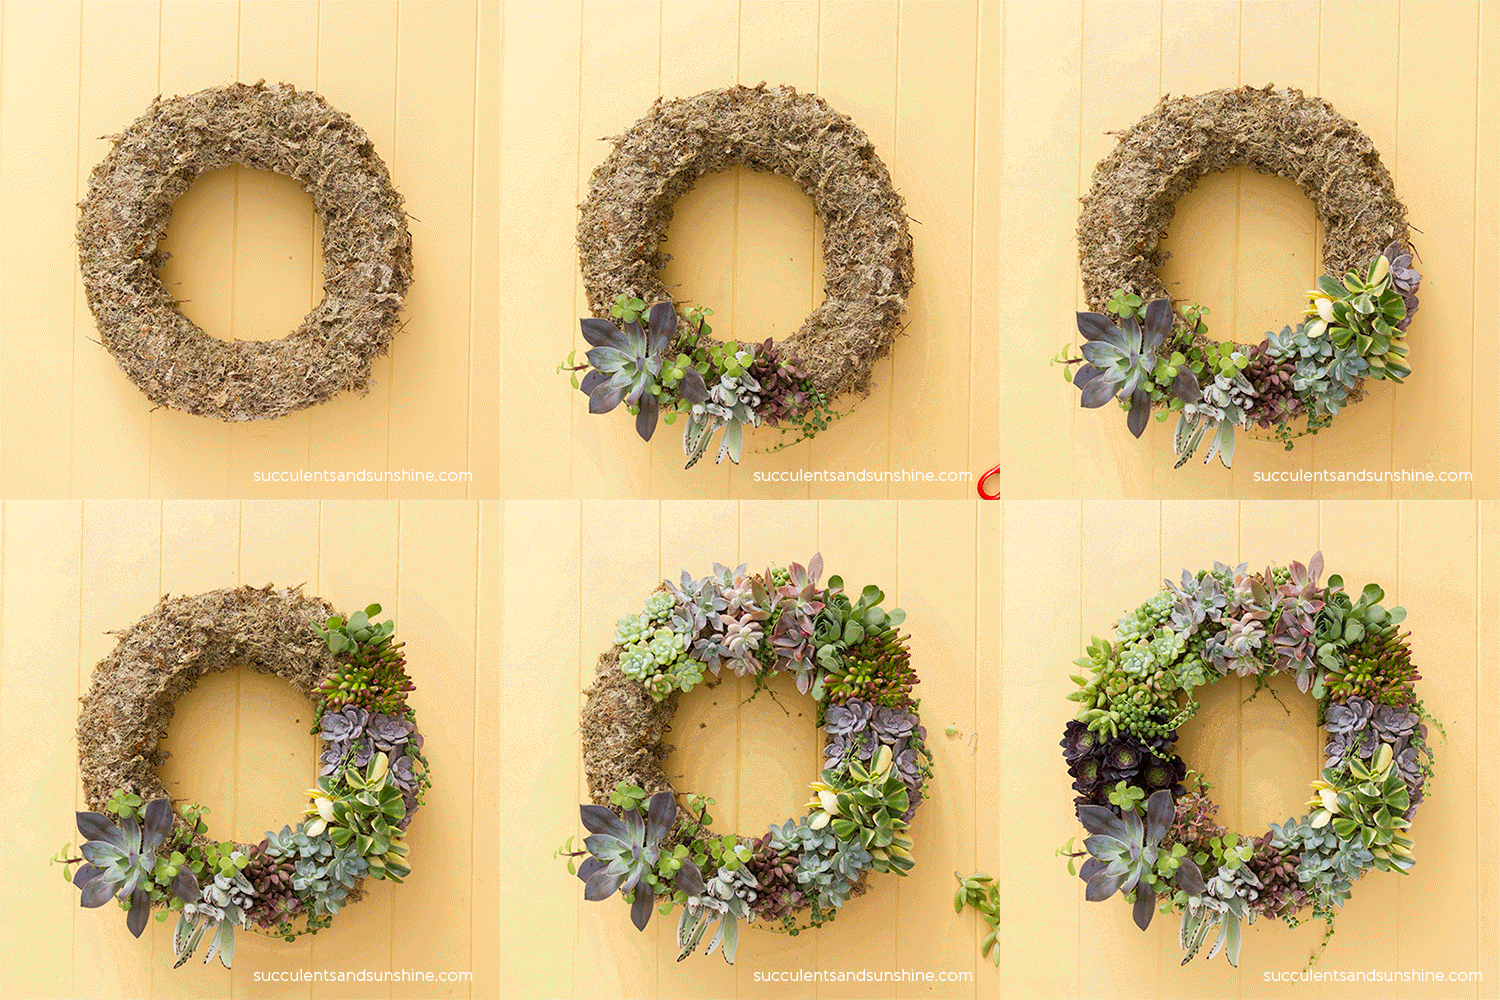
Keep the Succulent Wreath Flat for 6-8 Weeks
Like I said earlier, you'll want to leave your wreath flat for at least 6-8 weeks until the cuttings have fully rooted. Otherwise, all your hard work will go to waste! It would not be fun to hang up the wreath only to have all the plants fall off!
One of my sister-in-laws saw the wreath and loved it. She asked if I could make one for her as well. I love how it turned out!
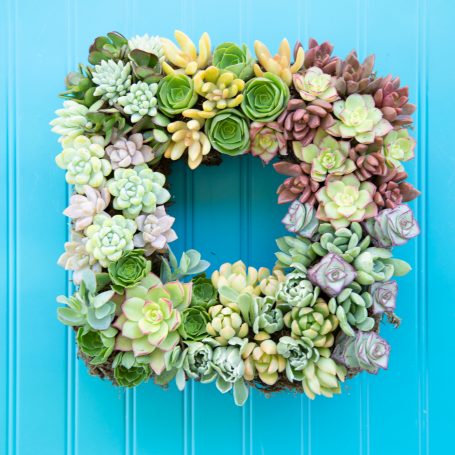
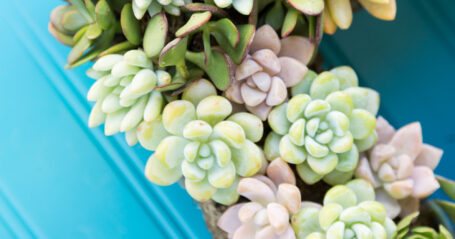
I guess sister-in-laws' really love wreaths! Here is another one I made for my other sister-in-law.
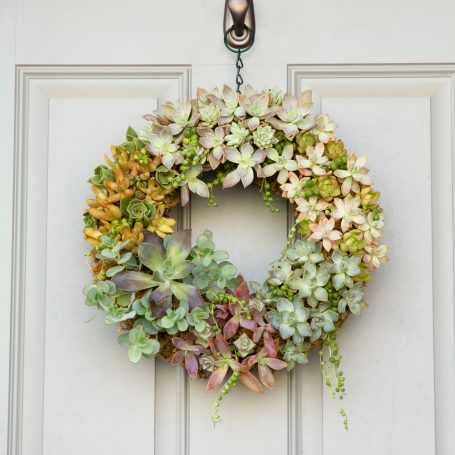
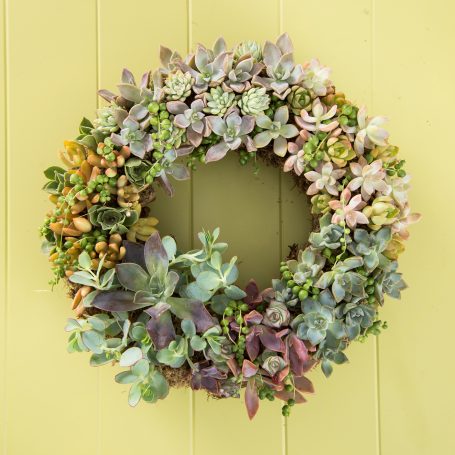
Now you're all set to make your very own succulent wreath!