DIY Wine Bottle Planter for Succulents
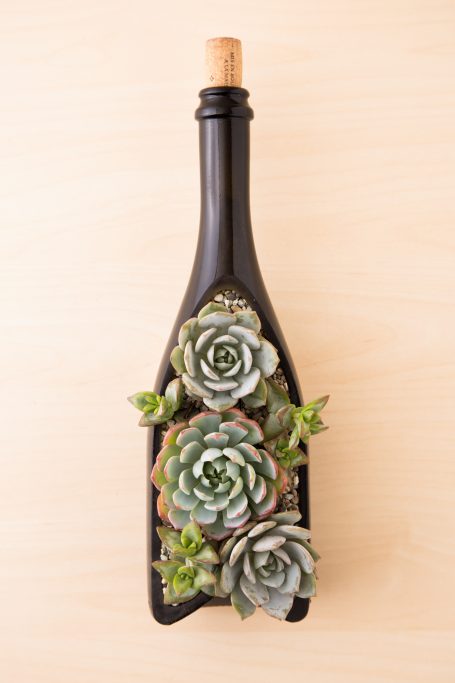
If you're looking for a unique container for your succulents, try planting them in this glass wine bottle! It's sure to make a statement!
Succulents and Sunshine is reader supported. We may earn a commission, if you purchase through links on our site, such as Mountain Crest Gardens, Amazon, or Etsy. We only promote products we use and trust.
There are so many fun things to plant succulents in! I recently found Looking Sharp Cactus and got a planted wine bottle arrangement from her and loved it!
I also saw the empty wine bottle planters she sold and wanted to try planting one myself as well. When I realized the bottles had a drainage hole in them I knew I had to share this tutorial with you. Glass can be tricky to grow succulents in, but with a drainage hole it's a great option!
Click here to buy an empty wine bottle planter to make a beautiful arrangement with succulents!
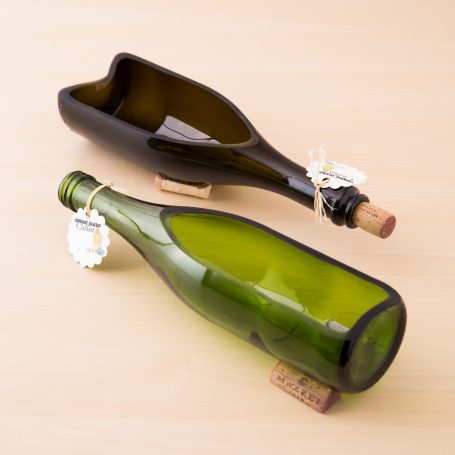
Here's what you'll need to make this beautiful arrangement (click the links to purchase the products online):
- Wine bottle planter
- Succulent soil
- 3-5 succulents (I used an assorted mix of 2.5″ succulents from The Succulent Source and requested a couple Echeverias)
- Top dressing and tools
All right! Now for the good stuff 🙂
Design
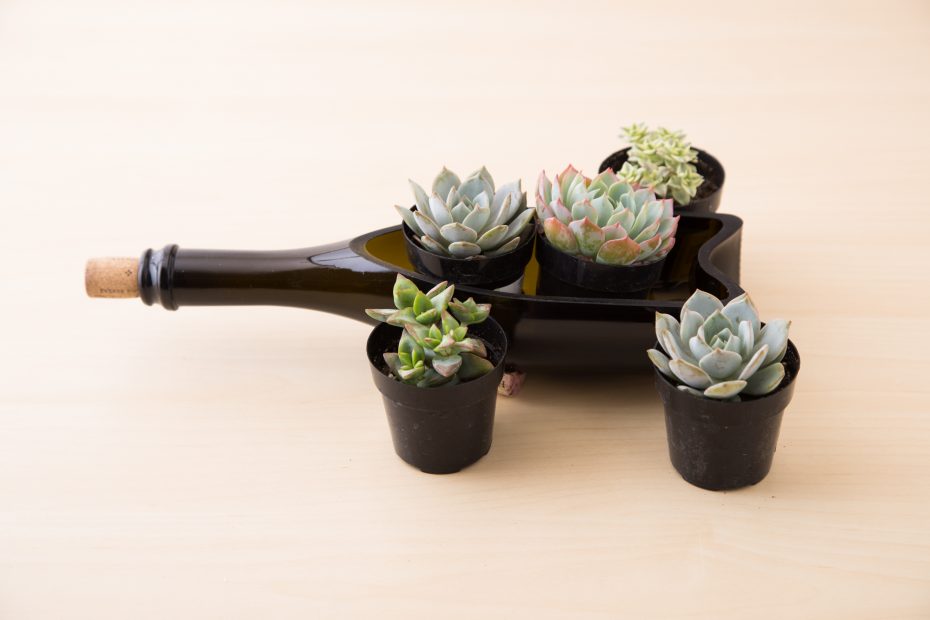
You'll want to start by planning out your arrangement. I like to place the succulents in their approximate locations while still in their pots so I can move them without making too much of a mess.
Remove soil
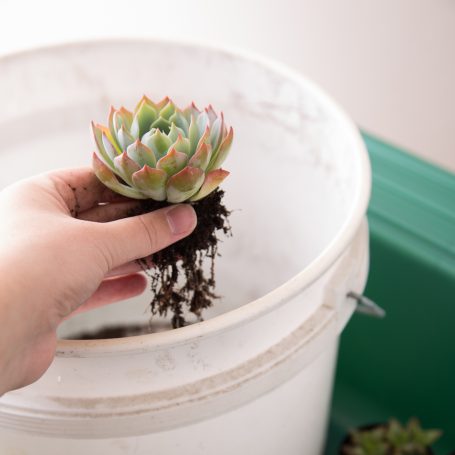
Once you know how you want the design to look, it's time to prep your succulents! Pull the succulents out of their pot and gently remove as much of the soil as possible. If you happen to pull off some of the roots in the process don't worry! Your succulent will survive just fine. (Also, I love this potting tray! It's a lifesaver indoors!)
Fill the planter with soil
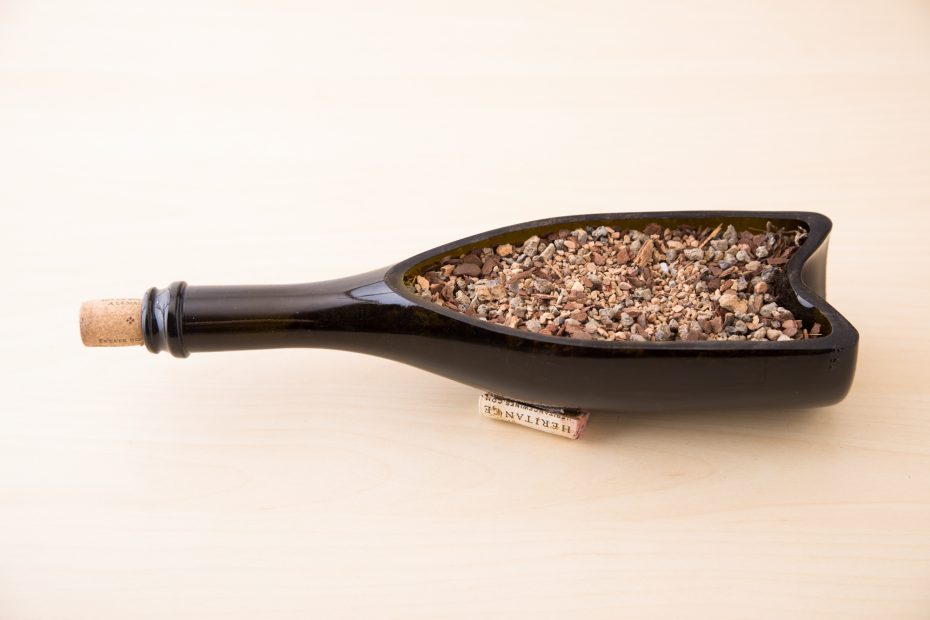
Fill your planter almost to the top with soil. This will ensure you have enough soil to fill the planter without adding more later, but also allows some wiggle room to put the succulents in without the soil spilling over the edge.
You can fill the neck of the pot completely with soil to make sure the soil doesn't shift after you water a few times. If your bottle doesn't have a stopper, you can add one or just fill the bottle so that it doesn't come out the end of the neck.
I highly recommend using a well draining soil for succulents, especially in a glass container, to prevent the roots from rotting.
Start planting in the center
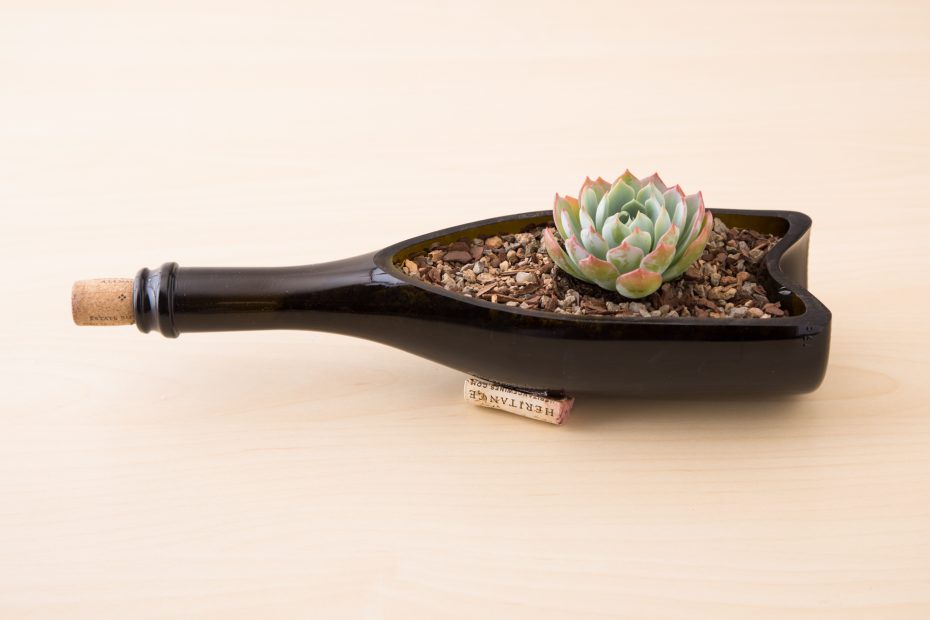
I've found it's easiest to start an arrangement by planting in the center. In this case, I planted the larger Echeveria in the center and nestled the roots until the soil until they were completely covered.
Add other large succulents
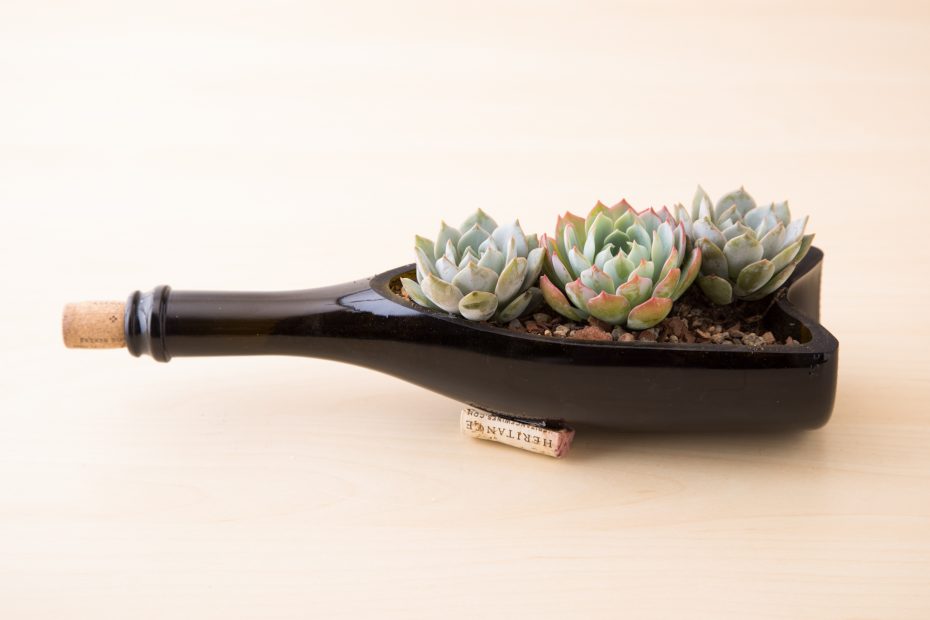
At this point you'll want to add any other large or focal point succulents.
Fill in the rest
Add smaller succulents around your focal point to fill up the rest of the planter.
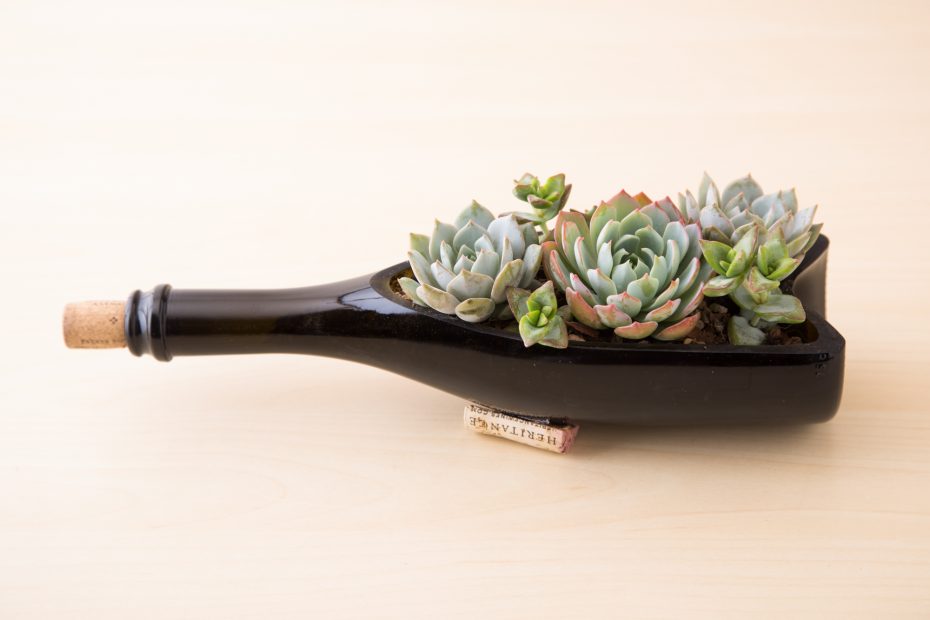
Add top dressing
Finish off your arrangement by adding a layer of top dressing. This helps the arrangement look complete and more professional. It also helps keep the soil in place.
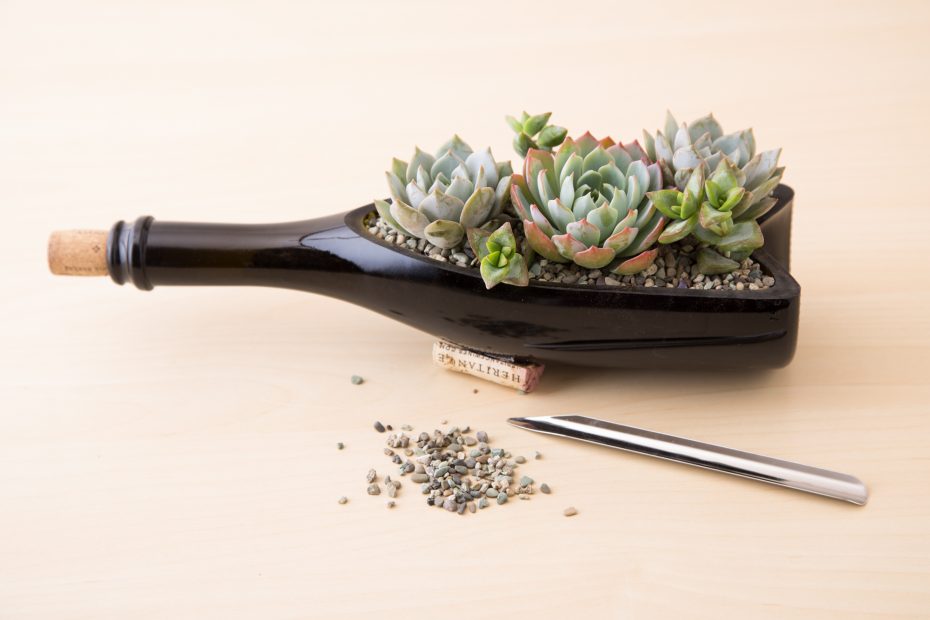
Care
Once your arrangement is finished, leave it for 2-3 days without water to allow the roots time to heal. After the 2-3 days, water like you would any established arrangement.
The great thing about these planters from Looking Sharp Cactus is they have a drainage hole. This will make watering and care so much easier!
Keep your arrangement in an area with bright, indirect sunlight to help it stay looking compact.
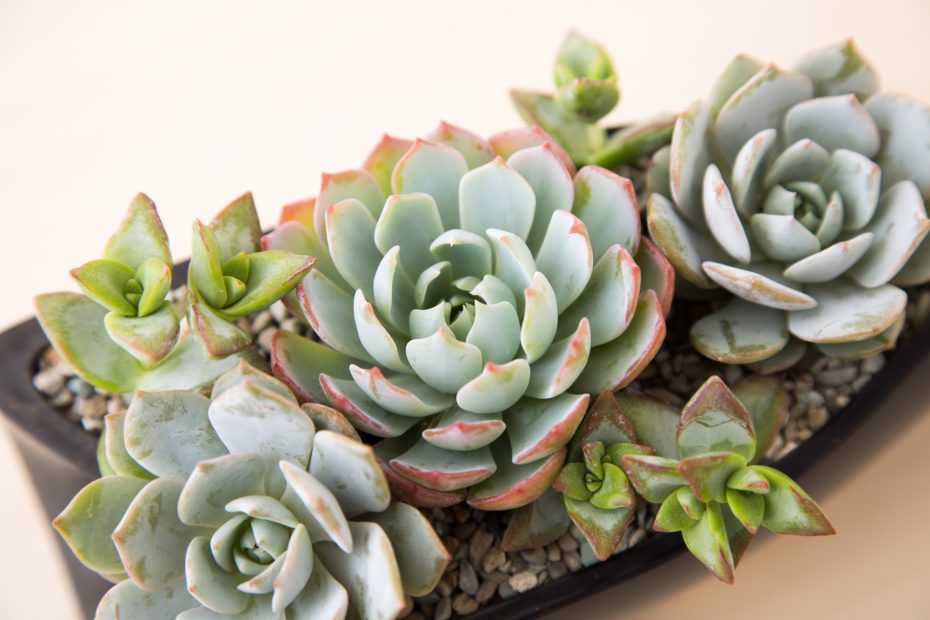
These wine bottle arrangements will look great in any setting. You can use them as a wedding centerpiece, as windowsill decor, or anywhere else you can think of! They also make great gifts.
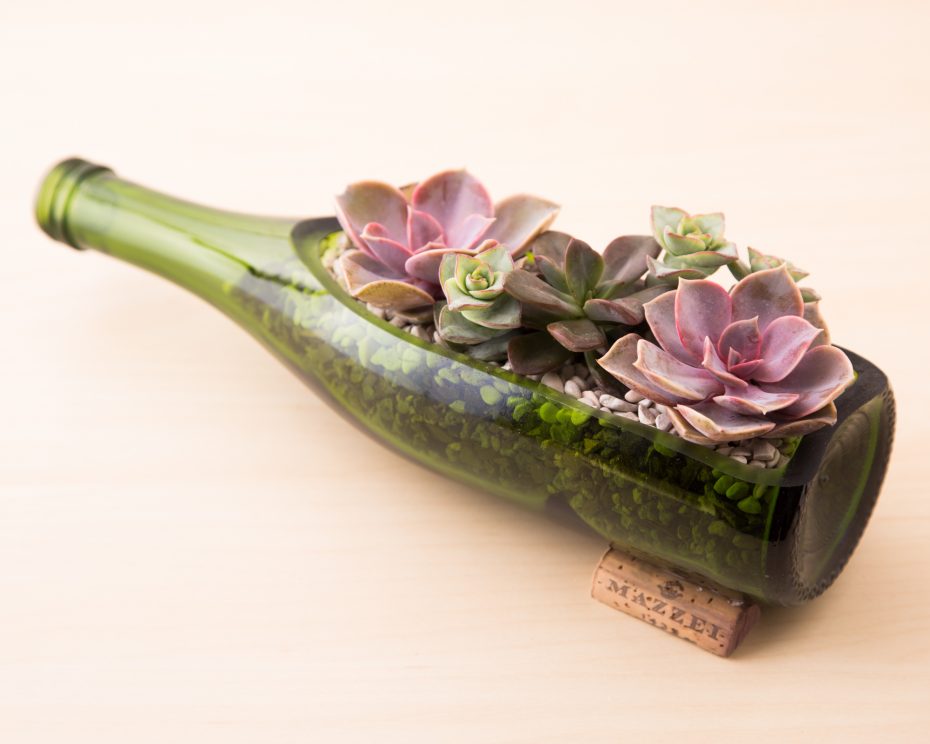
Click here to buy an empty wine bottle planter to make this yourself!
